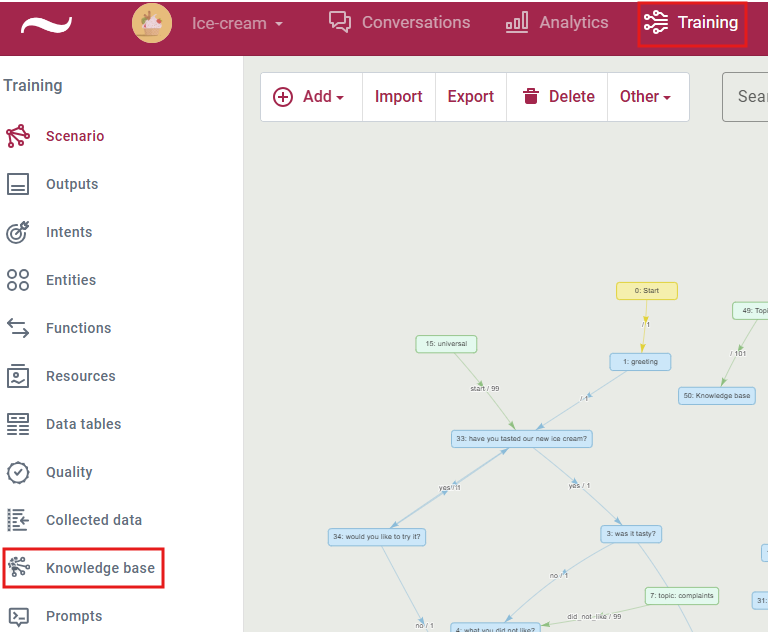
The training view “Knowledge base”
In the knowledge base, you can add and change information used by the AI text generation model to process user input and automatically generate responses.
For automatic answer generation to work, the action "Automatically generated answer" or function generateanswer or llmgenerateanswer must be added to the scenario.
To access the knowledge base, click Knowledge base in the Training view.
The Knowledge base view is opened.

Knowledge base files are listed with the following information:
- File name – The freely chosen name of the knowledge base file.
- Title – An alternative name for a file.
- URL – The web address of the URL, if any, was used when retrieving data.
- Tags – Additional context information or metatags for the document.
- Modified – The date and time the file was last modified.
- Size – The file size.
- Segments – number of segments in the file.
- Status – The current processing state of the file: a gray dot indicates "new," yellow is "processing," red signifies an "error," and green means "processed."
Files can be sorted according to file name, title, URL, time of modification, size, number of segments and status. To sort them, click the heading of the necessary column.
If the list contains many files, you can browse them by entering a search term in the Filter field.
You can use the button Other to access following options:
- Knowledge test. You can use it to ask your question and find out what answer the text generation model creates using the current knowledge. You can find more information about this feature here: Knowledge test.
- Search in files. You can search in file content and look for information in files with defined tags.
In Knowledge base view, files can also be deleted or downloaded. To edit the files in the list, click the pencil icon – this opens file editing window:
- Use the Edit file tab to edit the text.
- Use the Preview tab to see content preview.
- Use the Segments tab to see how content is divided in segments.
Adding a new file to the knowledge base
You can add a new file by clicking the Add button. In the knowledge base, you can:
- upload a previously prepared file;
- extract content from a website;
- create a new file.
Adding a previously prepared file
You can add data files in the following formats to the knowledge base: .md, .txt, .json, .xml, .docx, .csv, .pptx, and .pdf. The maximum uploadable file size is 28 MB.

In the Knowledge base view, click Add. The file addition window opens. Click on the paperclip icon, select the desired file, and click Open. Click Save and close. When the indicator in the Status column is green, the file has been processed.

Retrieving content from a website
In the Knowledge base view, click Add. The file addition window opens. To extract content from a website, enter its address in the URL field and click Retrieve content. Click Save and close.
Creating a new file
In the Knowledge base view, click Add. The file addition window opens. Type a file name and title. Write information in the Edit file field. When information is entered, click Save and close. The recommended format for editing is markdown (.md). You can find more information about markdown in this article: Formatting virtual assistant’s outputs.
To store additional information in metadata, you can use the following notation with reference tags.
| Hashtag | Explanation | Example |
|---|---|---|
| # | First level heading | # Ice cream |
| ## | Second level heading | ## Types of ice cream |
| ### | Third level heading | ### Strawberry ice cream |
| #### | Metadata | #### URL:https://en.wikipedia.org/wiki/Ice_cream #### PIC:https://www.publicdomainpictures.net/pictures/180000/velve/ice-cream-white-isolated.jpg #### VIDEO:https://youtu.be/dBEYockZ9xU #### without any other information – beginning of a new segment |
After adding a file, check the generated response in the try-out window.
Formatting references in the response
The platform includes a feature that allows you to add marked information at the beginning of the knowledge base file, which will later be used as a reference for the generated response.
# Title
#### URL: link
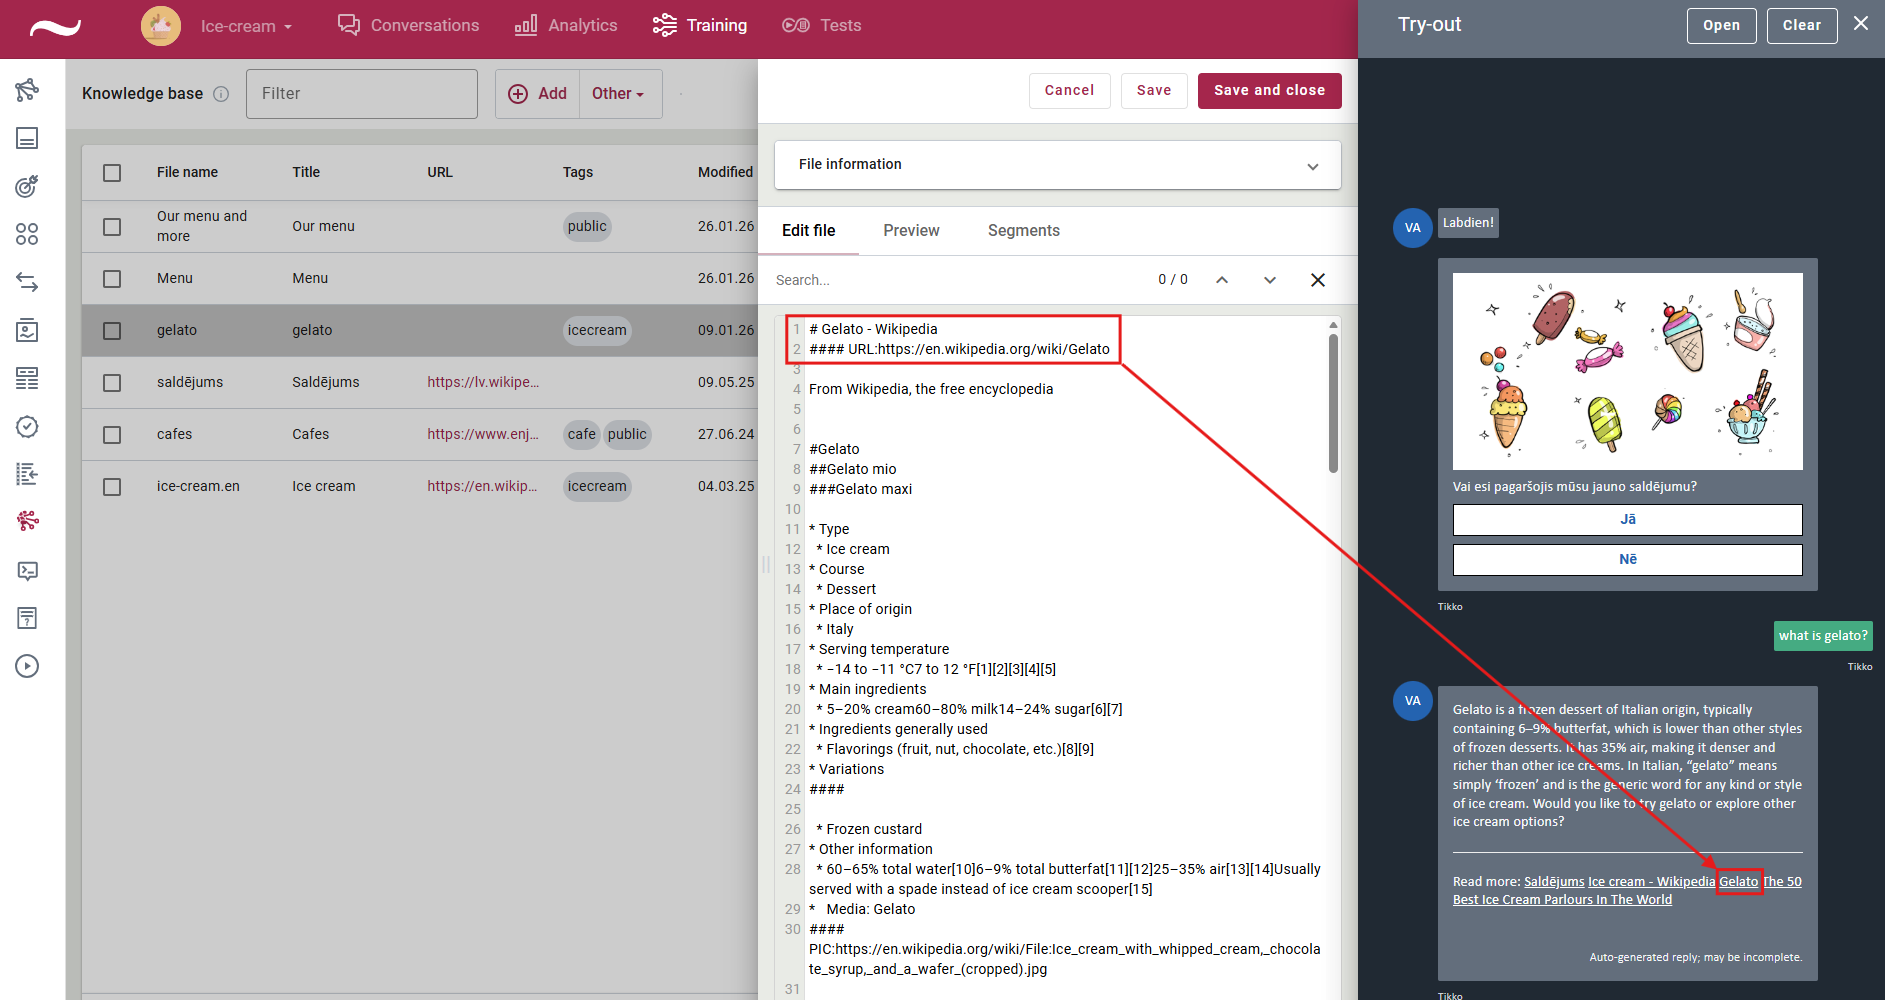
The reference link can also be entered in the URL field in File information section.