Basic setup
Get started with the Website Translator by following these fundamental configuration steps. This guide covers the essentials needed to activate the translation widget on your site. For more detailed customization options, please refer to the Advanced setup.
You will learn:
- How to add a new website and get the embeddable code
- How to create and translate a test page
- How to translate the example page
- How to view the translations in Translation editor
To set up Website Translator, you'll need to access your website's frontend source code to insert the Website Translator widget.
Step 1: Add new website
Adding your website generates an integration code snippet, which allows the translator tool to function on your site.
To add new website:
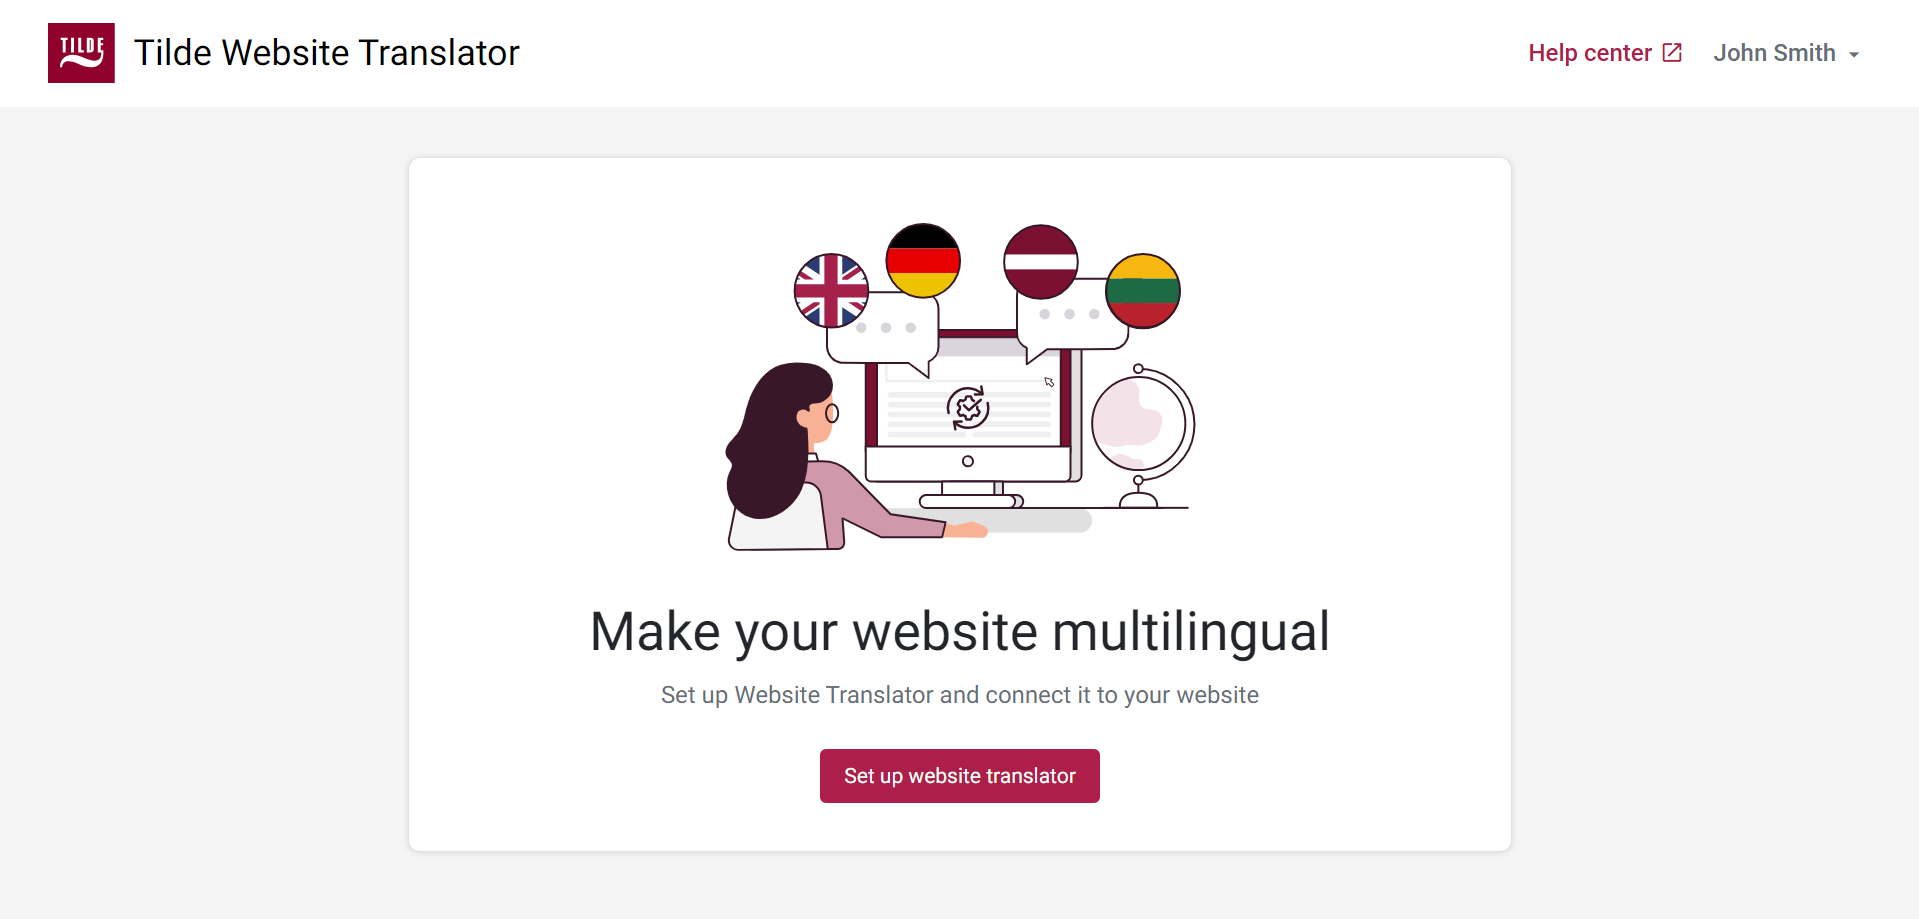
- Open Tilde Website Translator platform.
- Click the Set up website translator button to begin the configuration process.
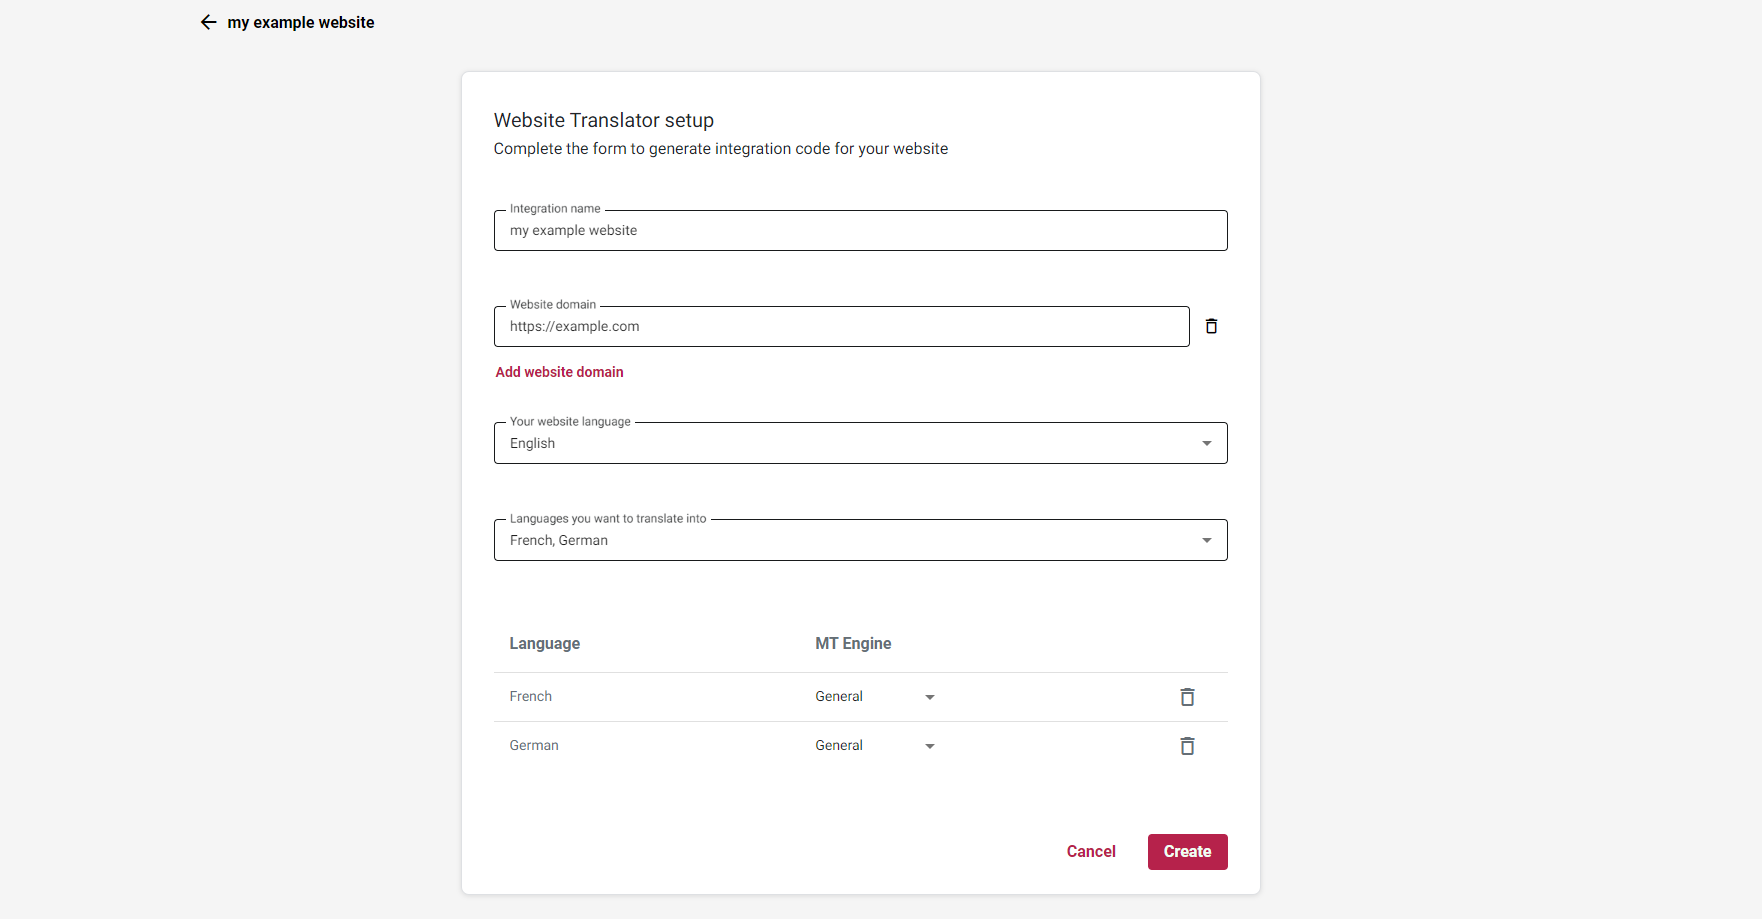
- Fill the form:
- Enter a recognizable name for your website (e.g., "My Company Blog", "Main Corporate Site").
- Add your website domain (e.g.,
https://www.example.com). - Select your website's original language.
- Select the languages you want your website to be translated into.
- Click Create.
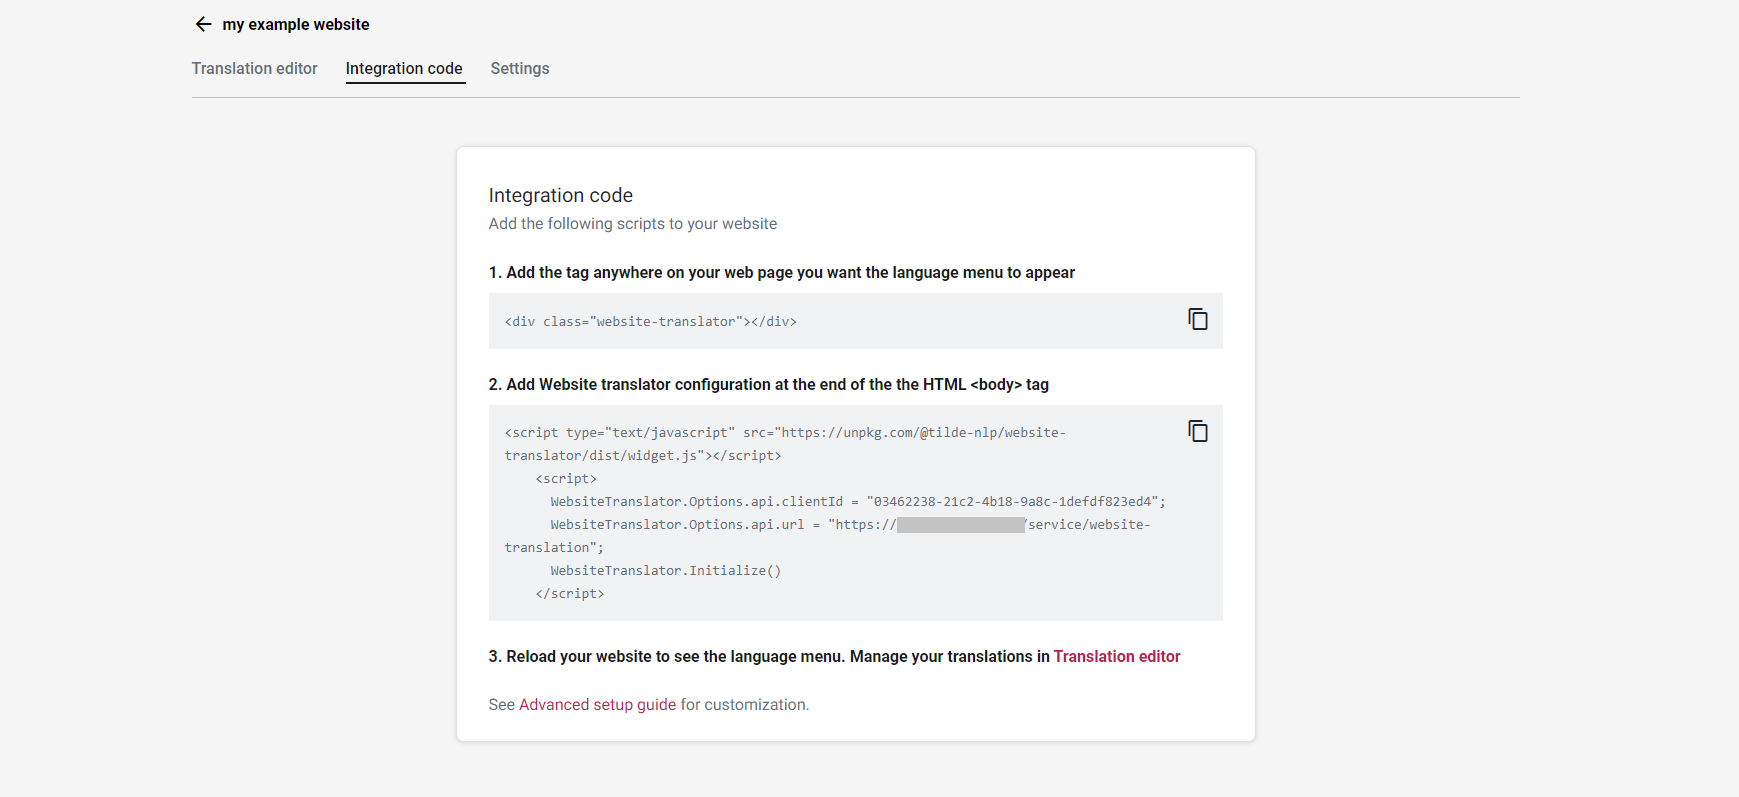
- Copy the generated integration code. You will need to add this snippet to your website's HTML source code to enable the translator.
Once the code is integrated correctly, the website translator will become active on your site according to your configuration.
Important: Each subdomain requires its own separate configuration entry. For example, https://example.com, https://www.example.com, and https://sub.example.com must each be added individually.
Consider adding separate website integrations for your Test and Production environments. This allows you to manage translations and test configurations independently without affecting your live website.
Step 2: Try an example
This section provides a simple HTML example to help you quickly test the Website Translator's functionality and see it in action without modifying your live site.
To create and translate a test page:
- Copy the example HTML code provided below. This code creates a basic page with various text elements and includes the Website Translator script.
- In the copied code, find the line starting with
WebsiteTranslator.Options.api.clientId.Replace the placeholder"XXXXXXXXXXXX"with the actual Client ID you obtained when you added your website in the previous setup step. - Save the file to your web solution.
- Open the example page in your web browser.
<html lang="en">
<head>
   <title>My title</title>
   <meta property="og:site_name" content="My site name">
   <meta name="description" content="Some site description.">
</head>
<body>
   <div class="website-translator"></div>
   <p>This will be translated</p>
   <p translate="no">This will not be translated</p>
   <p lang='ja'>これを訳して</p>
   <p>This text is <b>bold</b></p>
   <p>This is an example with a <a href="">link</a></p>
</body>
<footer>
   <script type="text/javascript" src="https://unpkg.com/@tilde-nlp/website-translator/dist/widget.js"></script>
   <script>
      <!-- 👇 Change XXXXXXXXXXX to your Client-ID -->
        WebsiteTranslator.Options.api.clientId = "XXXXXXXXXXXX";
        WebsiteTranslator.Options.api.url = "https://services.tilde.com/service/website-translation";
        WebsiteTranslator.Initialize()
   </script>
</footer>
</html>
Step 3: Translate the example page
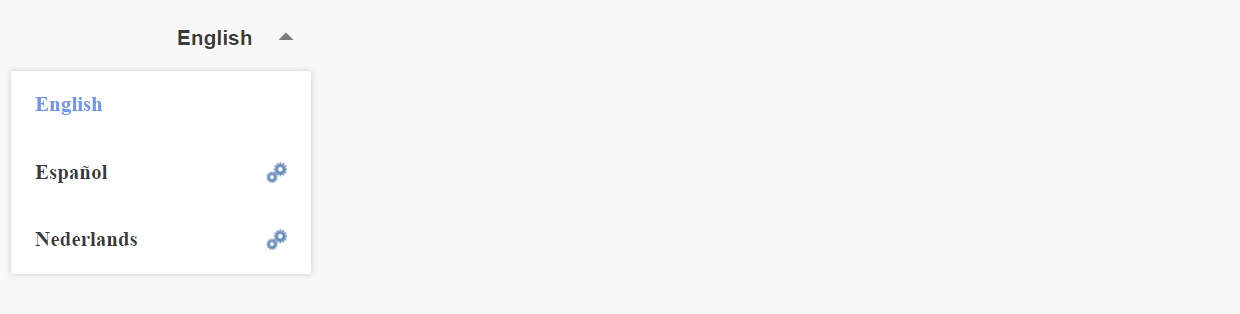
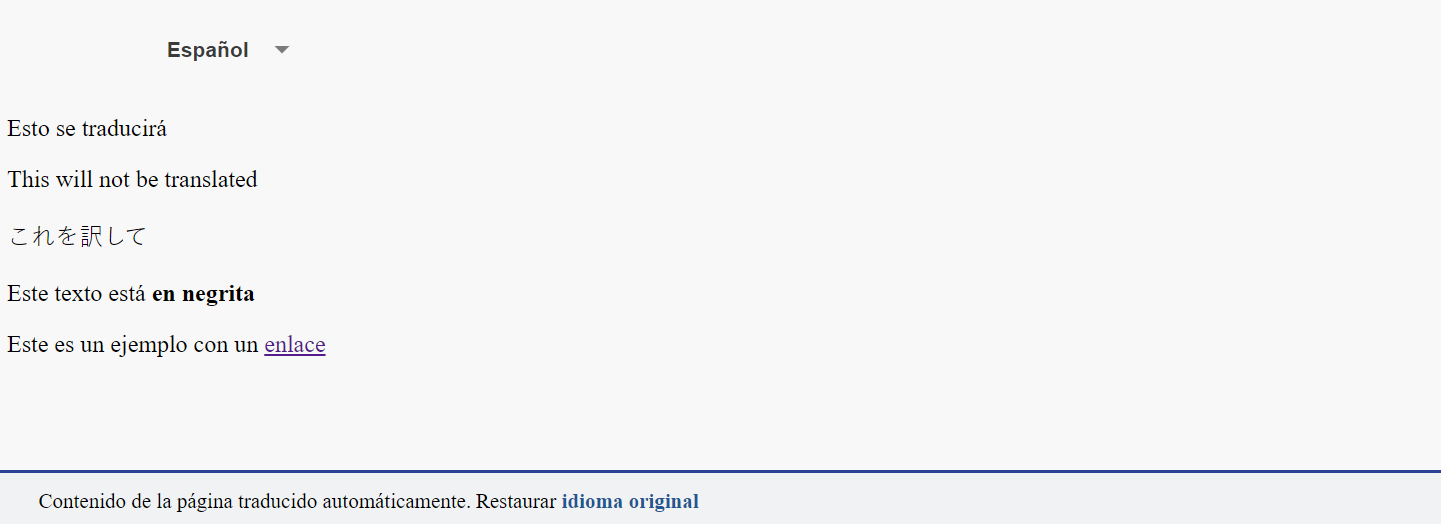
Once the page loads in your browser, the Website Translator language selector menu should appear:
- Select a target language from the menu.
- The translator will fetch translations and gradually replace the original text on the page. Notice how the text marked with
translate="no"remains unchanged.
Translated text segments get stored in a database. This means subsequent translations of the same content will be much faster. It also enables you to review and modify these translations later.
Step 4: View the translations in Translation editor
You can view, edit, and manage the translations generated from your test page (and eventually your live site) using the Translation editor.
To access the editor:
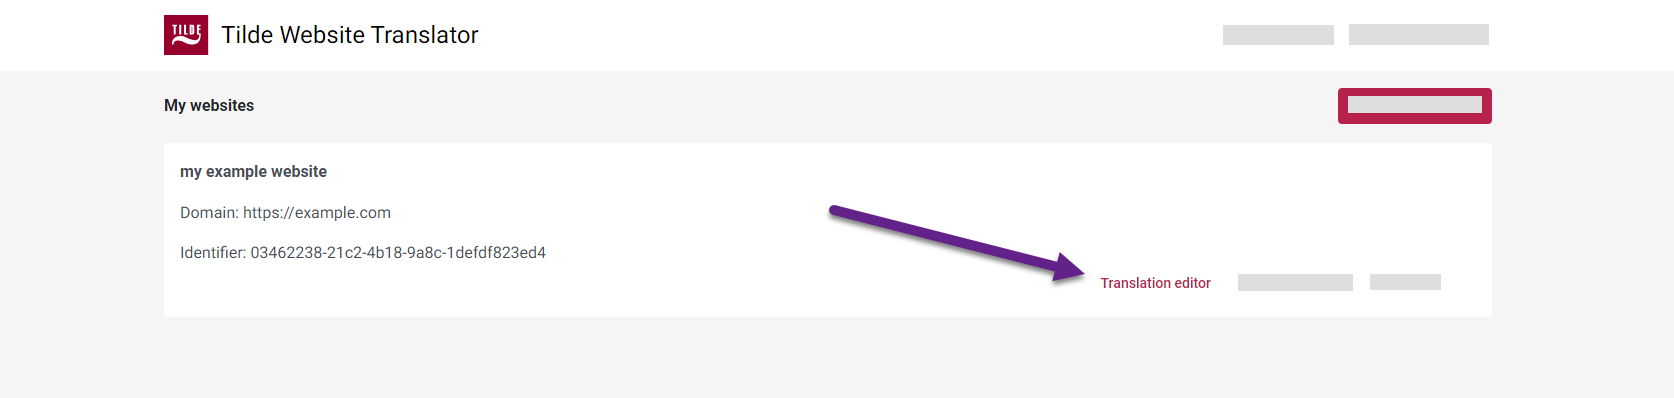
- Navigate to the Website Translator platform in your browser.
- Click the Translation editor button for the website integration.
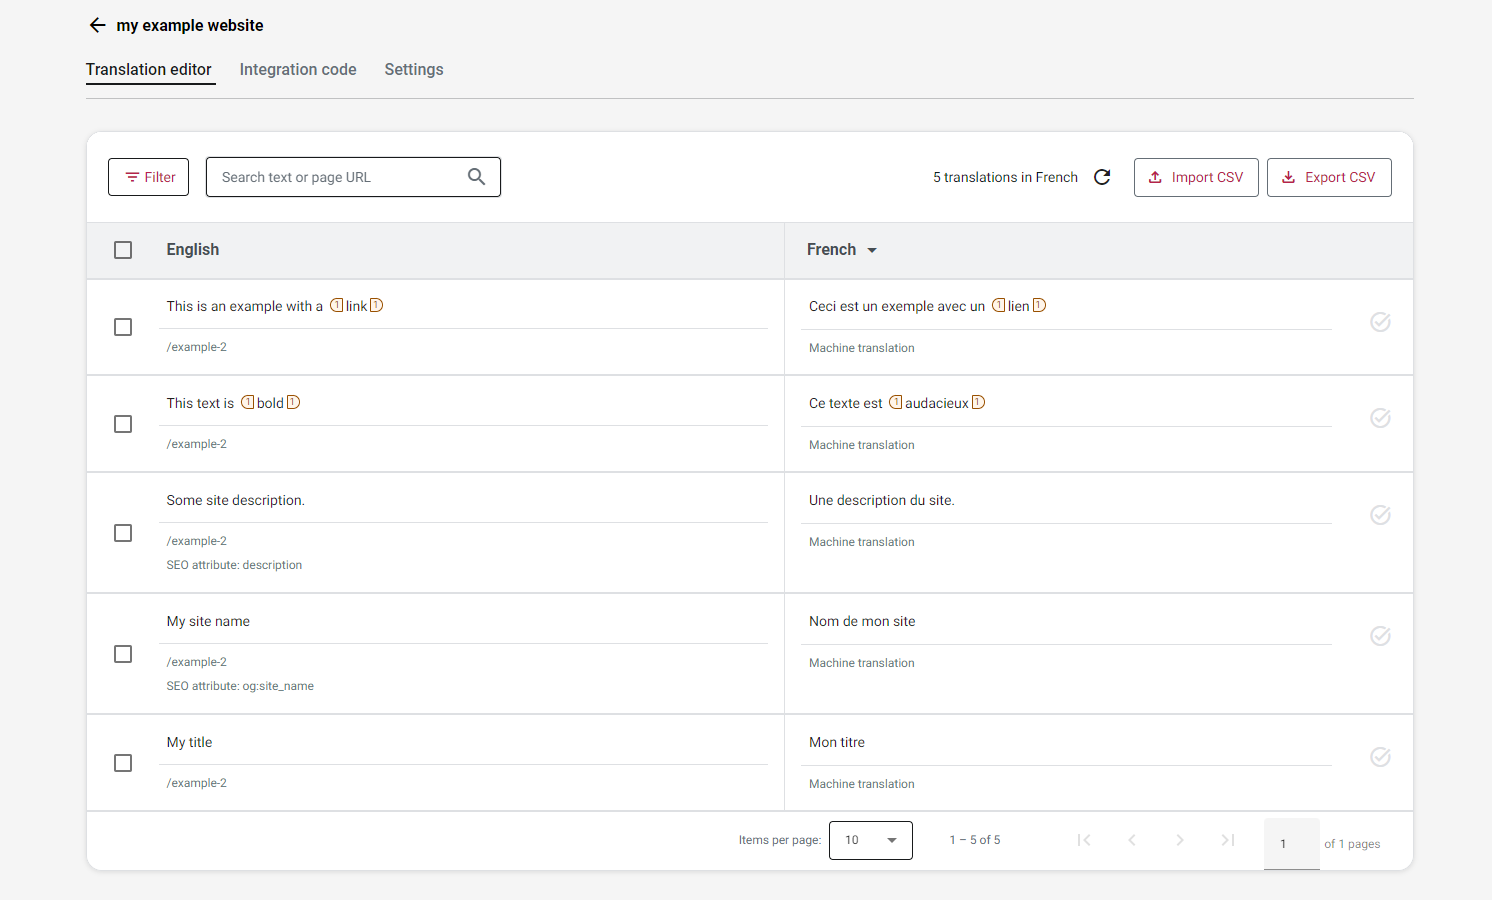
Inside the Translation editor, you can see the original text segments captured from the page alongside their corresponding translations. You can approve, modify, or delete these translations here.
What's next?
After successfully testing the example:
- Proceed to integrate the generated code snippet into your actual website's templates or pages.
- Begin translating your live website pages using the language selector.
- Explore more advanced options and workflows by reading the Translating and editing guide.