Getting started and FAQ
The Tilde Website Translator WordPress plugin offers two translation modes: real-time translation for visitors and bulk pre-translation with convenient editing.
Get started in few simple steps:
- Install the plugin.
- Get Translation provider access key from our Sales team.
- Configure Tilde WordPress plugin (Basic or Advanced configuration).
- Translate your website either one page at a time, or pre-translate all content at once.
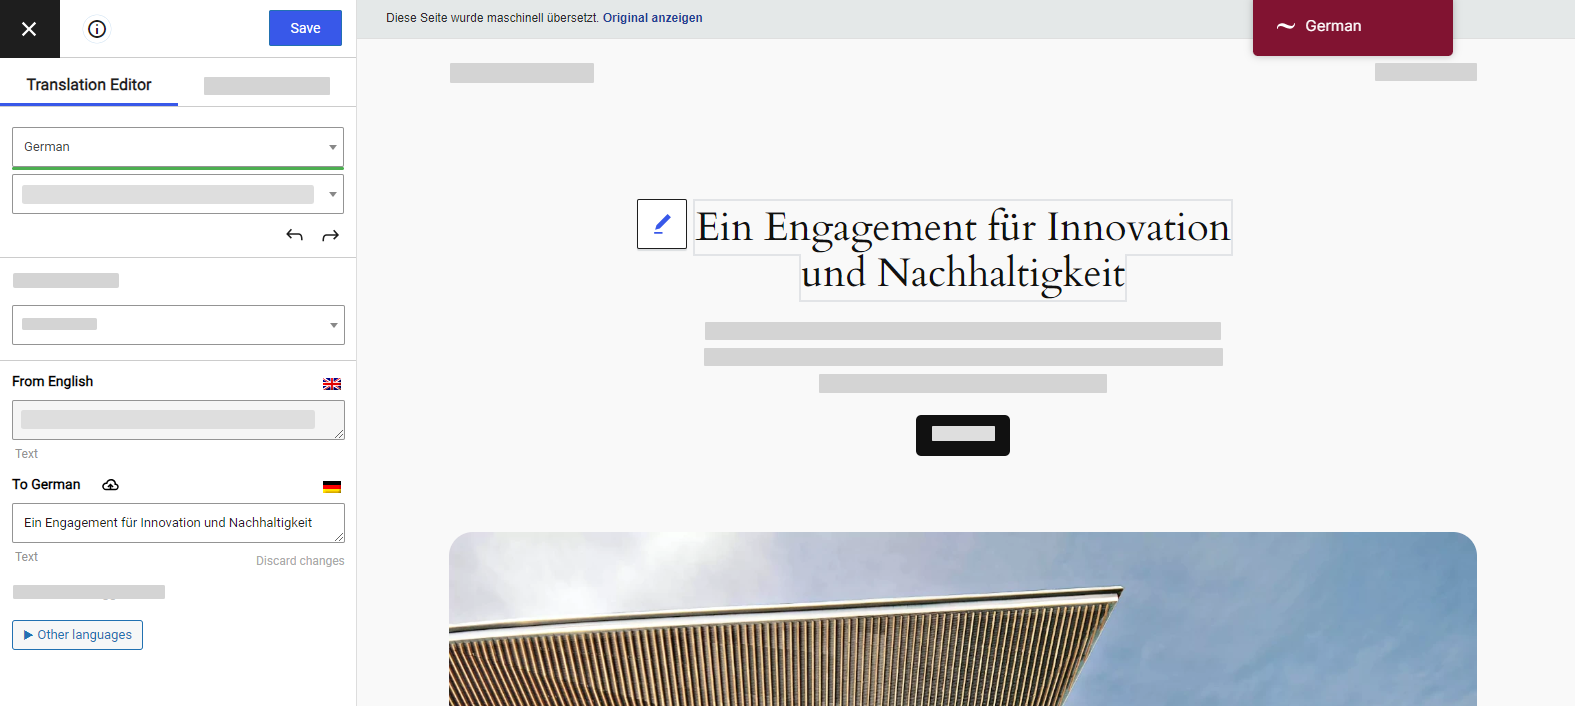
- Use translation editor to improve translated texts. The corrections will instantly appear on your website.
Tilde WordPress plugin supports WordPress versions 3.1.0 and newer
Frequently asked questions
Find answers to common questions about installing, configuring, and using the Wordpress plugin with the Website Translator.
Will translation impact website load times?
Typically, there's no noticeable difference in loading speeds between translated and original content. However, if a page hasn't been pre-translated, visitors might experience a delay while the translation is generated.
How can I add a language slug to the url for the default language?
Enhance your SEO with the plugin's URL slug translation feature. Manage and edit translated slugs by category, just like regular content translations.
To translate URL slugs:
- Open the Translation editor.
- At the bottom of the side panel, click URL Slug Editor.
- Find the slug you want to edit, hover, and click Edit.
- Edit the translation.
- At the top of the page, click Save Changes.
To enable Automated URL slug translation:
- In the plugin’s settings, open the Automated translation tab.
- Next to Automatedally Translate Slugs, check “Yes”.
- At the bottom of the page, click Save Changes.