Set up and translate with Trados Studio plugin
This guide will walk you through setting up your translation project in Trados Studio to use the plugin and how to translate your documents.
You will learn:
- How to set up your translation project in Trados Studio for the plugin
- How to configure projects with multiple target languages
- How to enable pre-translation during project setup
- How to translate your document using the plugin
- How to pre-translate an entire file after setup
- How to translate segment by segment
- How to uninstall the plugin
An access key is needed to connect the Trados Studio with Tilde MT. You can reuse access keys for multiple projects or share the same one. Please see: Access keys
Step 1: Set up your translation project
To create a translation project and configure the plugin:
- Create your project in Trados Studio.
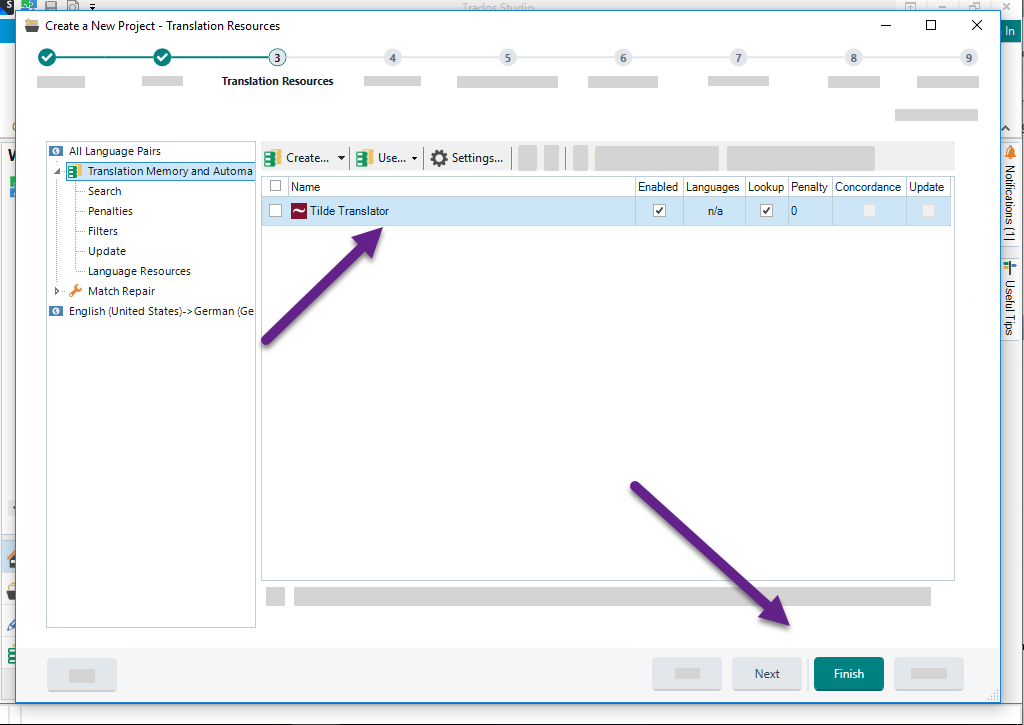
- On the Translation Resources step:
- Under All language Pairs, click Translation Memory and Automated translation
- Click Use....
- From the menu select Tilde MT translator.
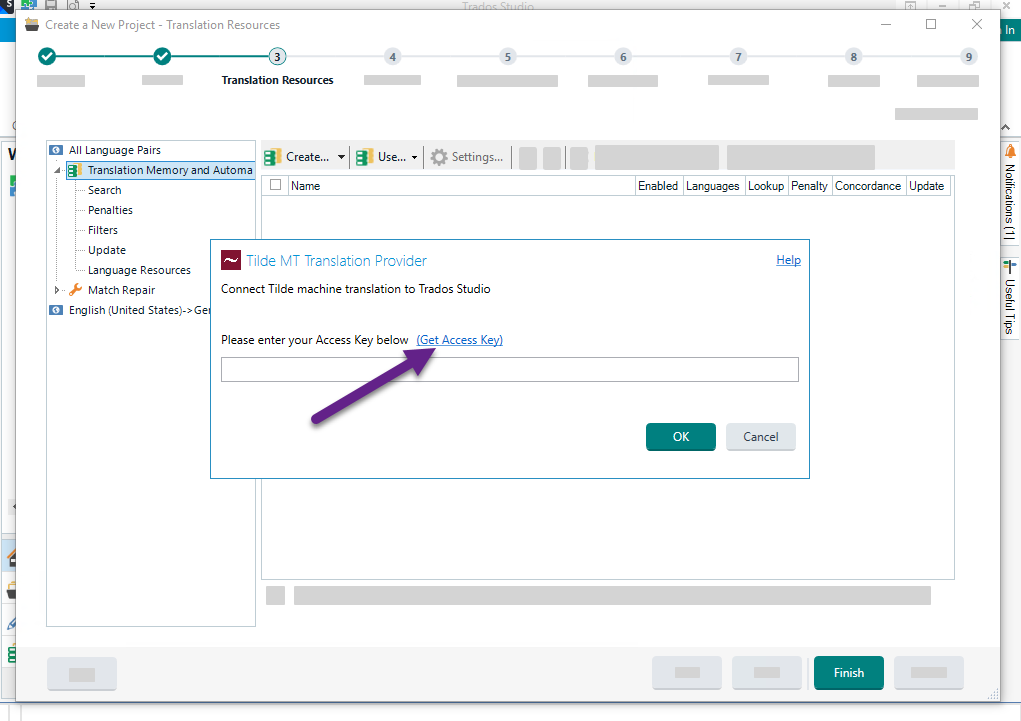
- On the plugin's authentication window:
- Enter your Access key or click Get Access Key.
- Click OK.
- Click Next. Go through the rest of the steps.

Set up project with multiple target languages
If your project has several target languages:
- Create your project in Trados Studio.
- On the Translation Resources step:
- On the left panel, select a specific language pair (instead of All language pairs).
- Click Translation Memory and Automated translation.
- Enable Use different translation providers for this language pair.
- Click Yes or No in the prompt.
- Click Use....
- From the menu select Tilde MT translator.
- On the plugin's authentication window:
- Enter your Access key or click Get access key.
- Click OK.
- Click Next. Go through the rest of the steps.
Enabling pre-translation during project setup
To automatically pre-translate your files when the project is created:
- During the project creation process, navigate to the Batch tasks step.
- Find the Pre-translate task in the list.
- Under the When no match found setting for the Pre-translate task, select Apply automatic translation.
- Click Finish to complete the project setup.
If the plugin is configured correctly, your files should be automatically pre-translated and populated with translations upon opening. However, some segments might remain empty if the translation process for those segments took an unusually long time.

Step 2: Translate your document
Once your project is set up, you can begin translating your document. You have two main options: pre-translation and segment-by-segment translation.
Option a: Pre-translate the entire file
Pre-translation automatically fills your entire document with initial translations from Tilde MT. You can then review and edit these translations.
- If you didn't enable pre-translation during project setup, you can still pre-translate your file. Open your document in the Editor view, go to the Batch Tasks menu in the top toolbar, select Pre-translate Files, and follow the prompts, ensuring "Apply automatic translation" is selected under "When no match found."
- See Enable pre-translation for details on enabling this during project creation.
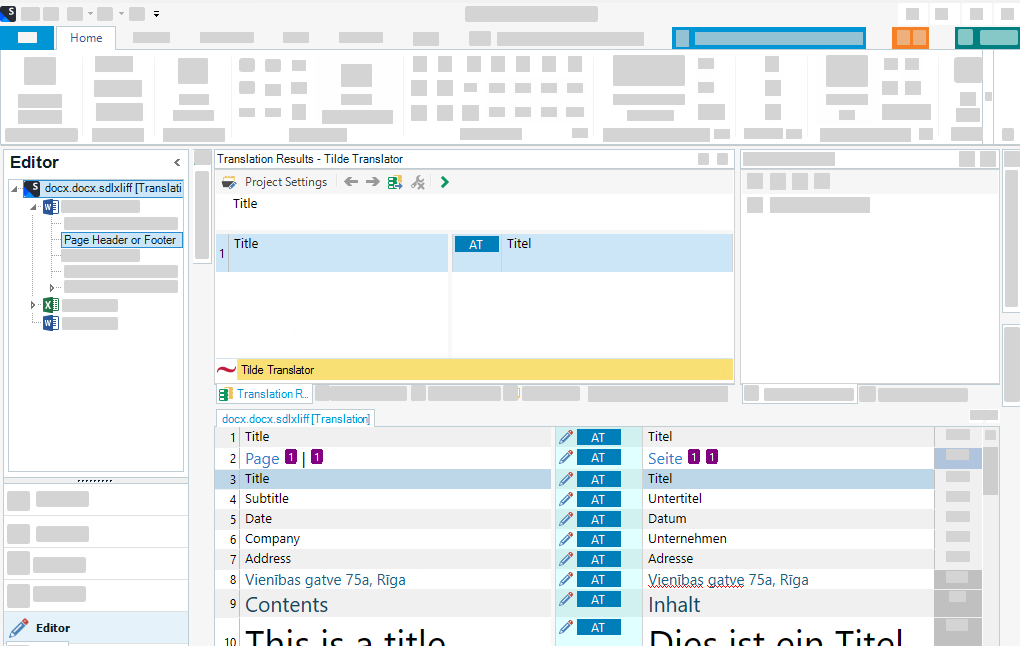
Option b: Translate segment by segment
This method allows you to review and confirm each translation suggestion individually as you work through the document.
- In the Editor view, click into the translation row (the target language segment) you want to translate.
- The translation suggestion from the Tilde MT plugin will be automatically copied into the active translation cell.
- Edit the translation as needed to ensure accuracy and fluency.
- Once you are satisfied with the translation, press
Ctrl+Enteron your keyboard to confirm the translation and move to the next segment. - Continue this process for each segment in your document.
Uninstall plugin
To remove the Trados Studio plugin:
- Open Plugin Management tool. You can do this by typing its name in the Windows Start Menu search window.
- Select the Tilde MT provider and click Uninstall to remove the plug-in.
Depending on the way the plug-in was installed, the tool may require Administrator rights to run.
If you encounter issues during plugin uninstallation, you can delete the plugin files manually. Follow the instructions in Official Trados Studio documentation