Managing Website Translator integrations
You can modify the settings of your existing Website Translator integrations or permanently delete them when they are no longer needed. Both actions start from the integration's settings page on the Website Translator platform.
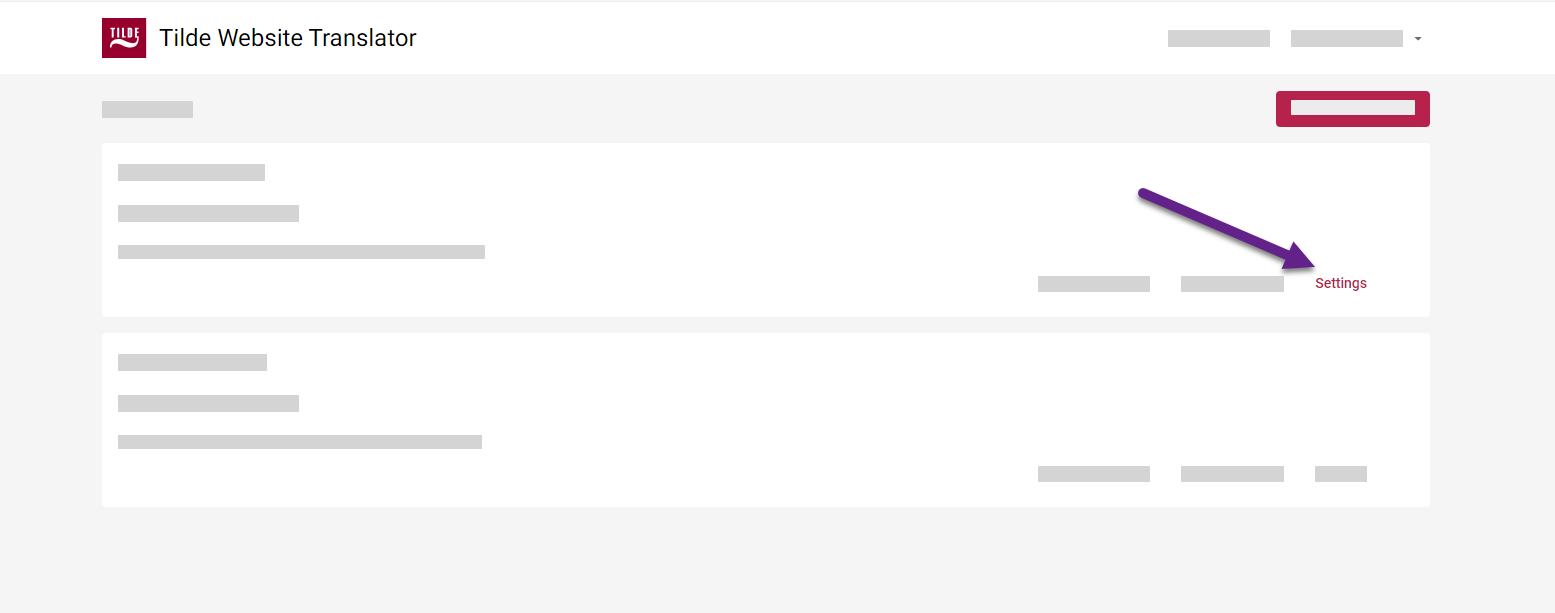
Accessing integration settings
- Log in to the Website Translator platform.
- In the list of websites, find the integration you want to manage.
- Click Settings for that specific integration.
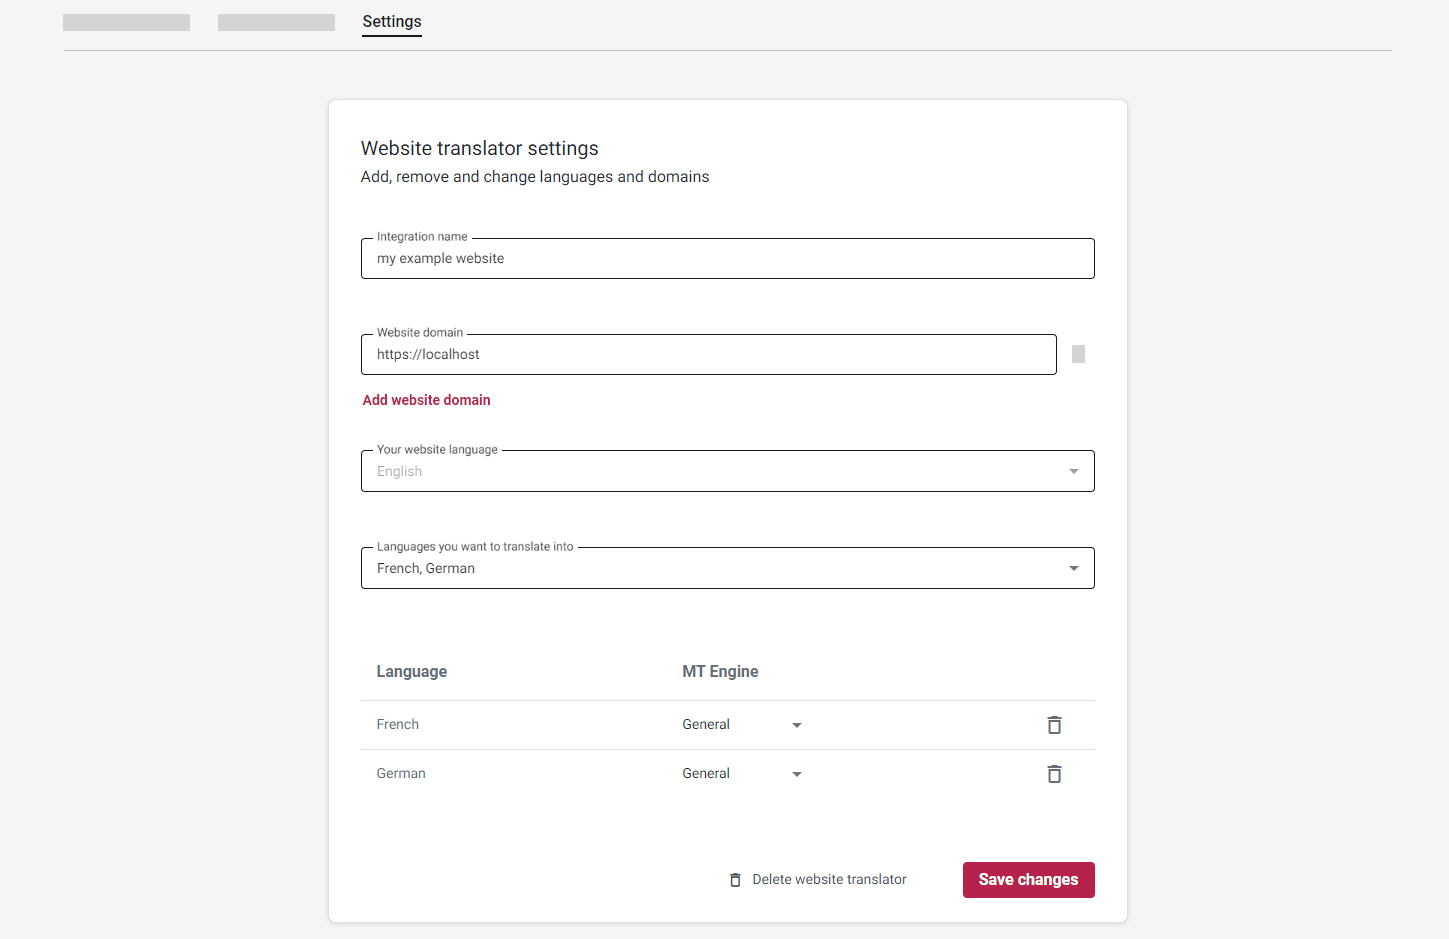
Editing an integration
From the Settings page, you can adjust various parameters for your integration.
Remember to click Save changes at the bottom of the page after making any modifications.
If you have your website open while making changes to its integration settings, you may need to perform a hard refresh (Ctrl+F5 or Cmd+Shift+R) on the webpage to see the updated behavior.
Changing the integration name
Simply edit the Integration name field at the top of the Settings page.
Modifying languages
- Add Language: In the "Languages you want to translate into" section, use the dropdown menu to select and add new target languages.
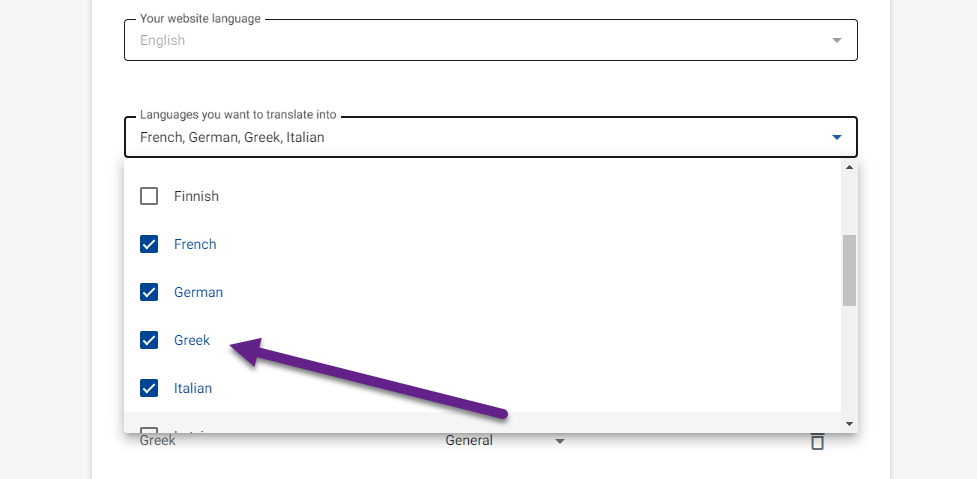
Figure 3. Selecting a new language to add. - Remove Language: In the table of added languages, click the bin icon (🗑️) at the end of the row for the language you want to remove.
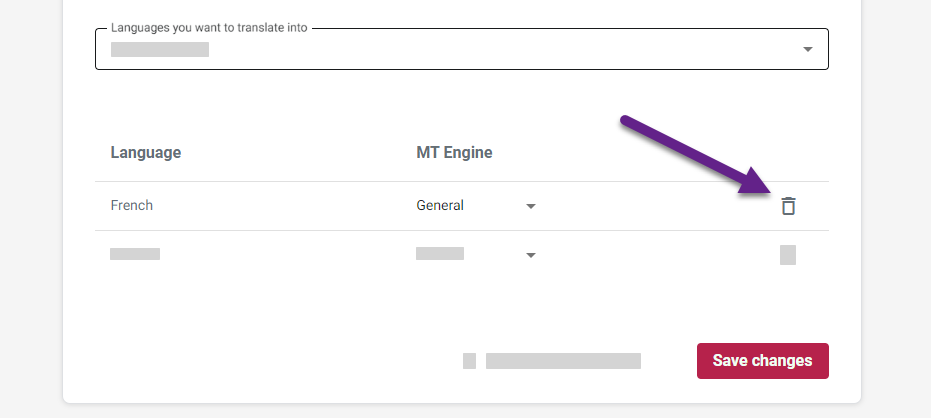
Figure 4. Removing an existing target language.
Updating website domains
Ensure all domains and subdomains where the translator will be used are listed.
- Add Domain: Below the existing domain list, click Add website domain and enter the new domain (e.g.,
subdomain.example.com).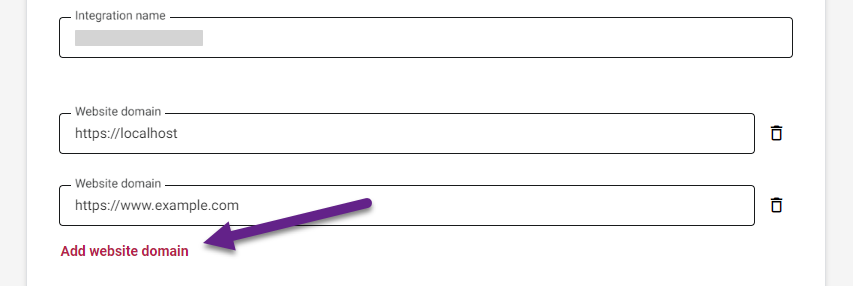
Figure 5. Adding a new website domain. - Remove Domain: Click the bin icon (🗑️) next to the domain entry you want to remove.
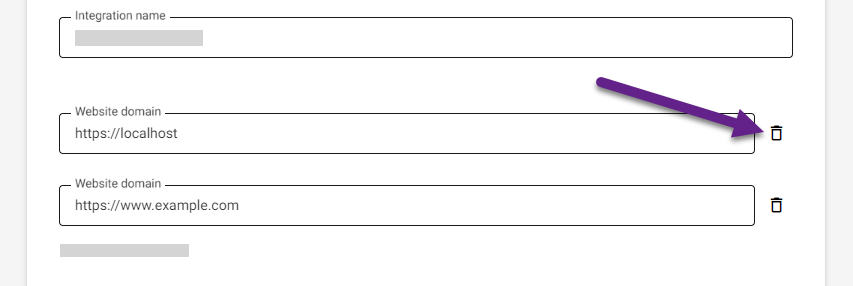
Figure 6. Removing an existing website domain.
Changing the MT engine
For any listed language pair, you can select a different Machine Translation engine if alternatives are available.
- Find the target language in the table.
- Select a different engine from the MT engine dropdown menu in that row.
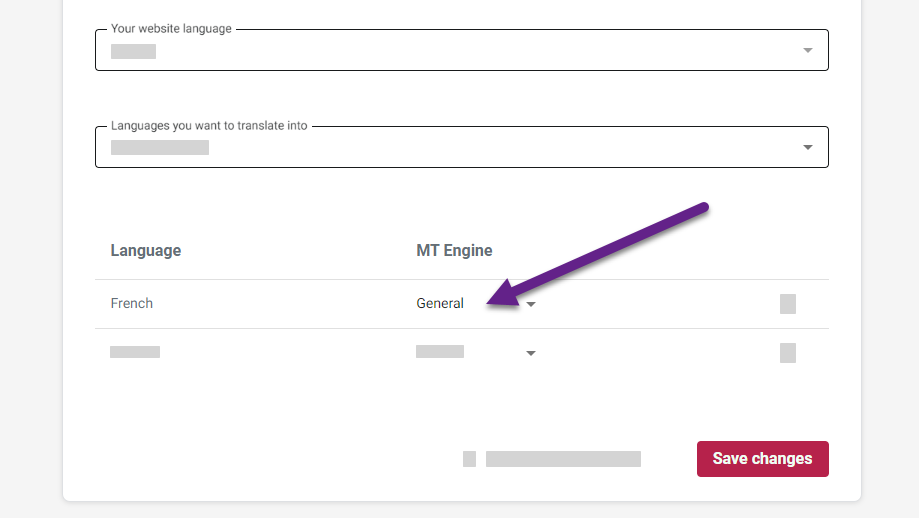
Remember to click Save changes after editing any settings.
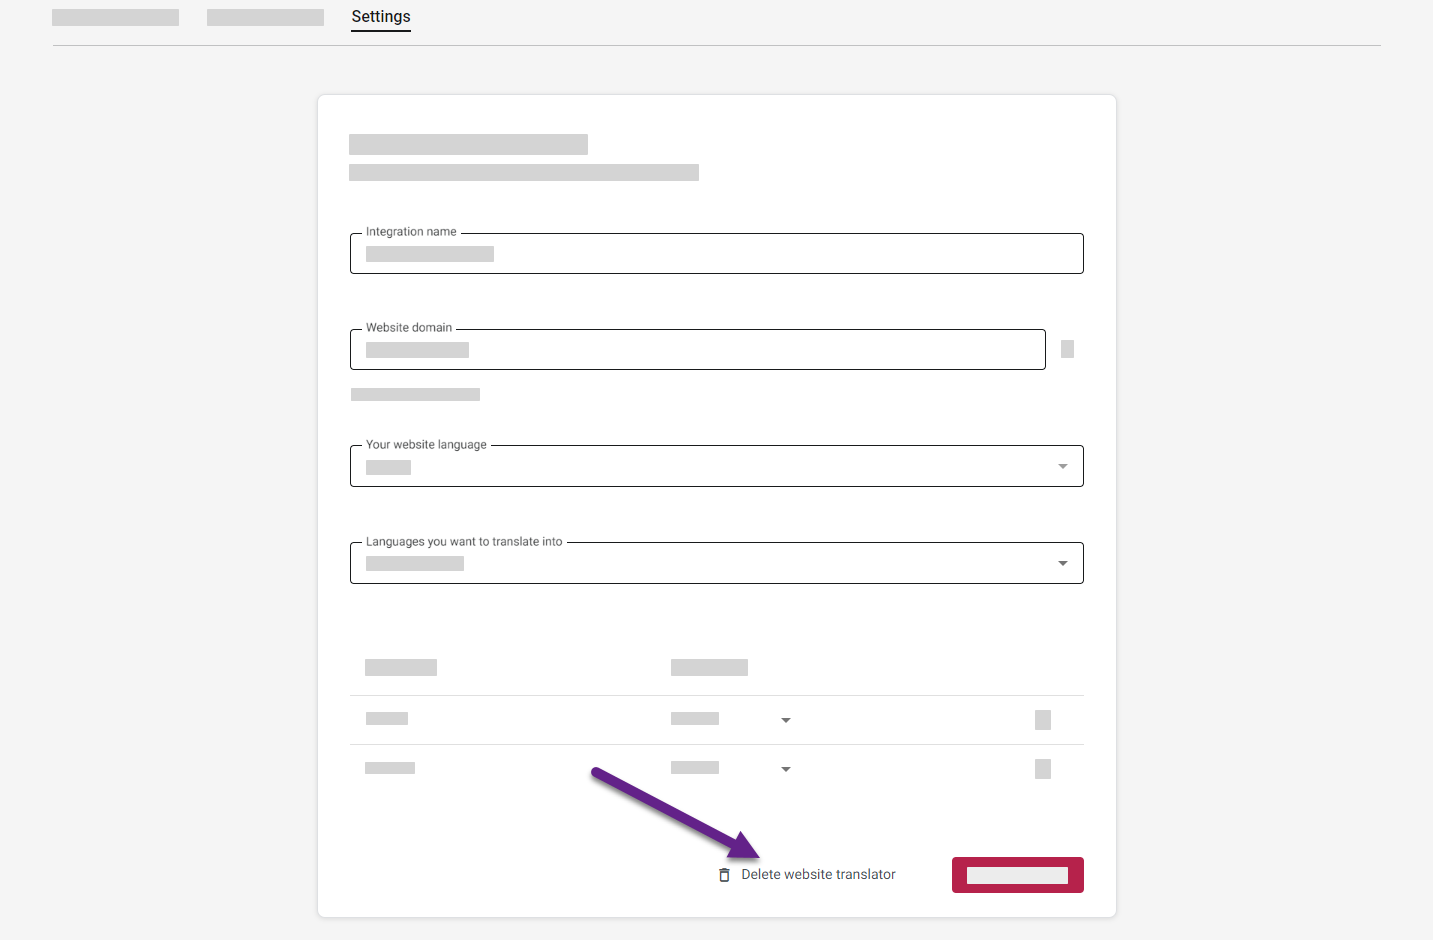
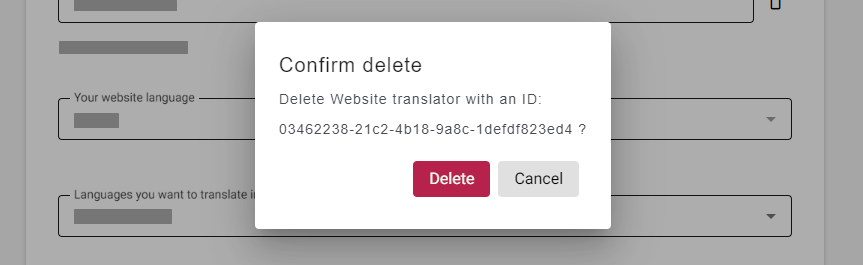
Deleting an integration
Permanently remove an integration and all its associated data if it's no longer required.
Deleting an integration permanently removes all associated translations, edits, settings, and configuration from the Website Translator platform. This action cannot be undone.
- Navigate to the Settings page for the integration you wish to delete (see Accessing integration settings).
- Scroll to the very bottom of the page.
- Click the Delete website translator button.
- A confirmation dialog will appear. Click Delete to confirm the permanent removal.
Removing the code after deletion
After deleting the integration from the platform, you must manually remove the corresponding Website Translator JavaScript code snippet (including the language selector element, e.g., <div class="website-translator"></div>, if you added one) from your website's HTML source code. Do this across all environments (development, staging, production) where the code was deployed. Failure to remove the snippet may cause errors on your website.