Website translation
WordPress
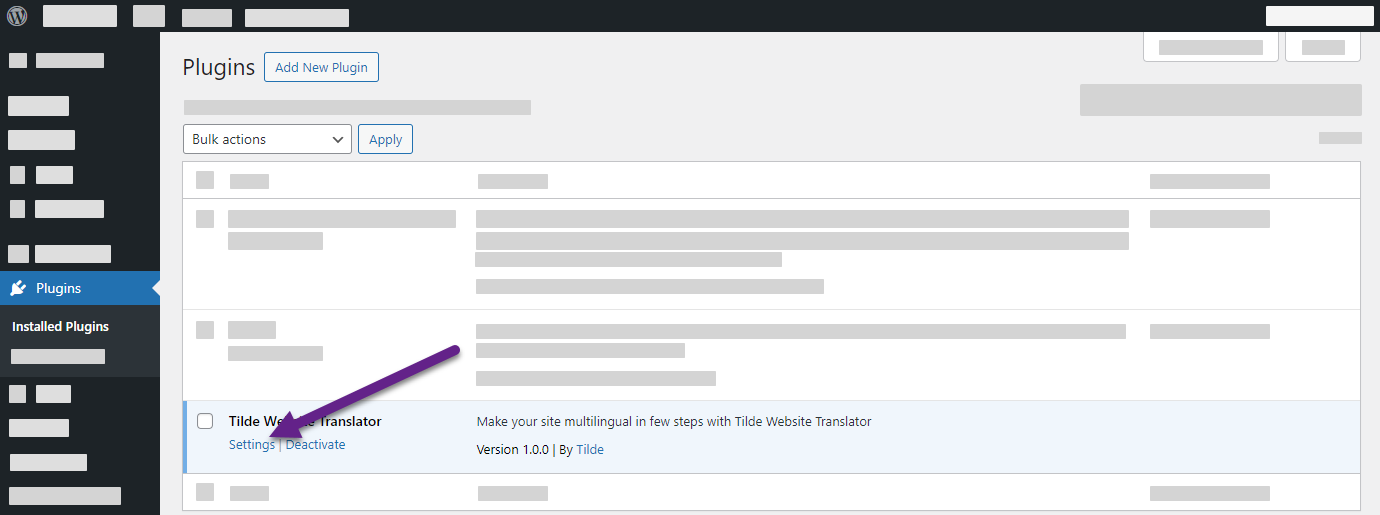
Figure 1. Plugin settings in Wordpress. 
Figure 2. Adding access key. 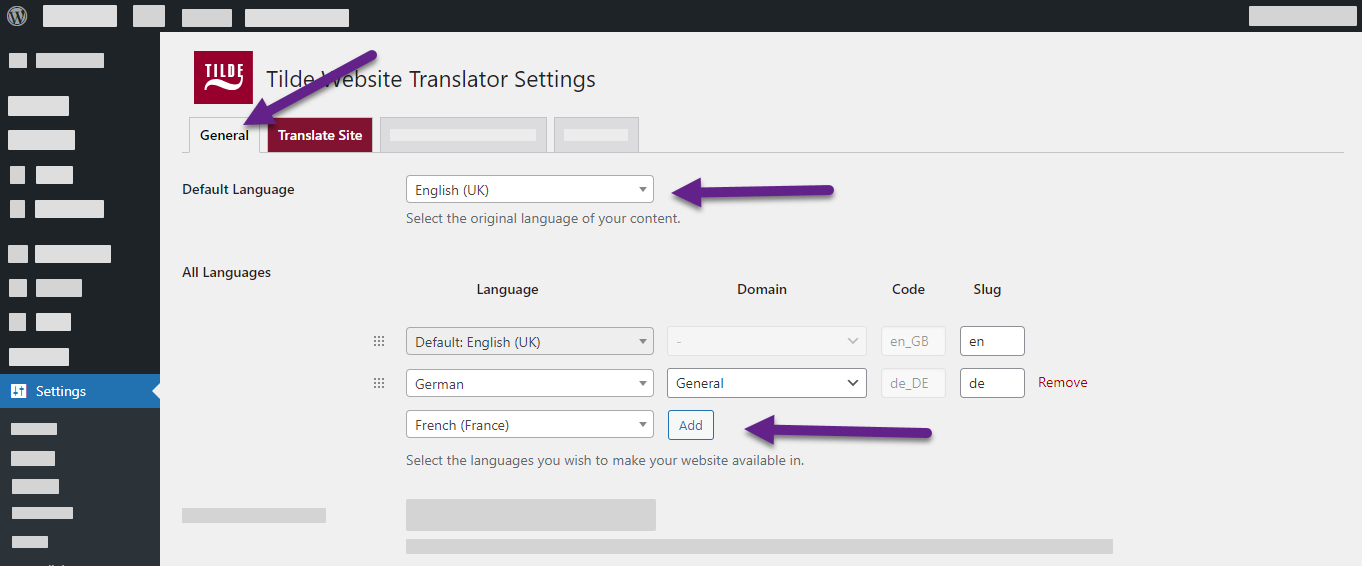
Figure 3. Selecting translation languages. 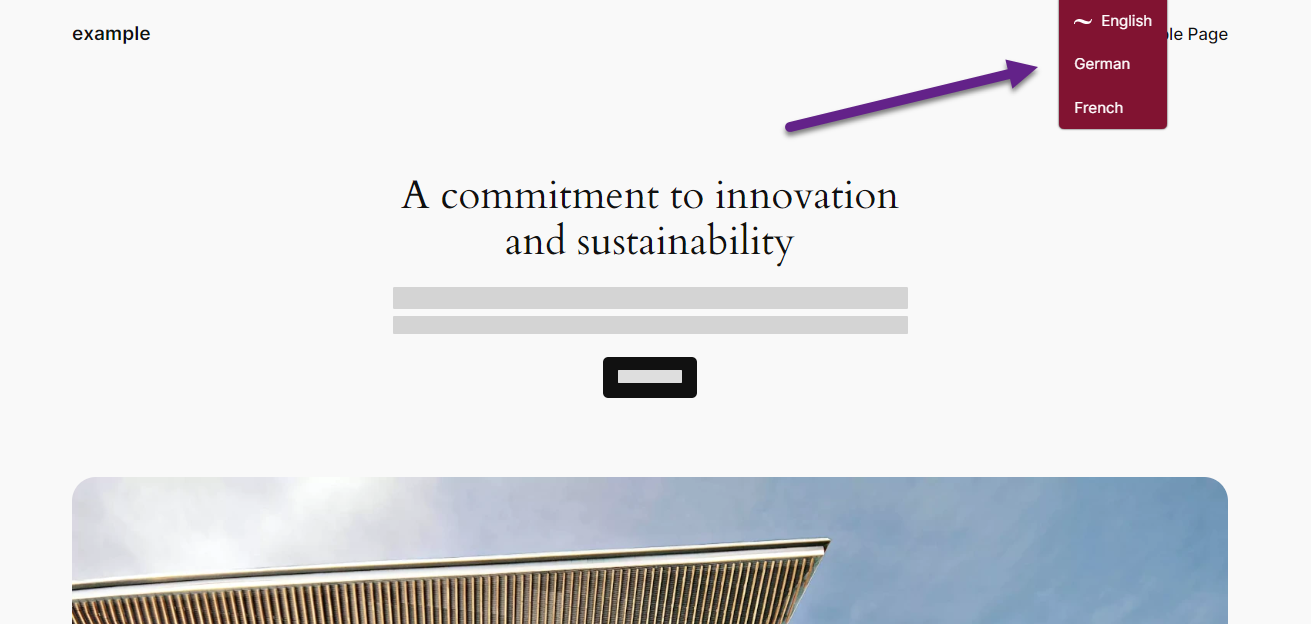
Figure 4. Testing plugin's functionality. 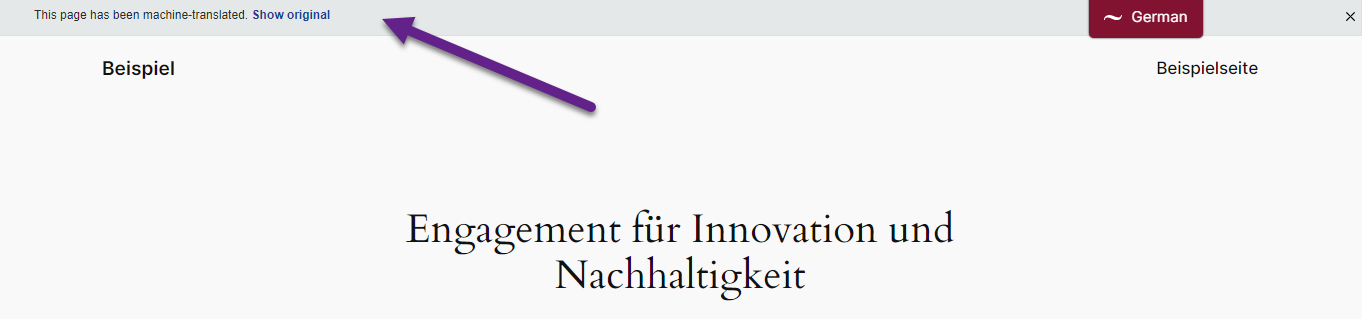
Figure 5. Testing plugin's functionality.
Basic setup
This section covers the basic setup. For more advanced customization options, please refer to the Advanced configuration.
You will learn:
- How to to access the Website Translator's settings
- How to add access key
- How to select translation languages
- How to verify that plugin is set-up correctly
Step 1: How to get there?
- On the Wordpress administrator dashboard, open Plugins.
- In the list find "Tilde Website Translator".
- Click Settings.
Step 2: Add access key
To enable machine translation, input your access key (provided by our Sales team) into the plugin settings.
To add the access key:
- On the Wordpress administrator dashboard, open Plugins > Tilde Website Translator > Settings.
- In plugins settings, open Automated Translation tab.
- Enter your access key.
- Click Save Changes at the bottom of the page.
Step 3: Select translation languages
To select the translation languages:
- Open the Tilde Website Translator plugins Settings.
- In the General tab, set the default language of your website.
- In the All Languages section, select the language(-es) and domains, and click Add.
- At the bottom of the page, click Save Changes.
- Adjust the language order by dragging and dropping.
Step 4: Verify plugin is set-up correctly
To verify that the plugin is set-up correctly:
- Open your website.
- Look for the floating language selector at the top of the page.
- Select a translation language.
- The page will reload, displaying the translated content.
- A translation notice bar should appear.