Website translation Drupal

Prepare your Drupal website

Prepare your website for multilingual content by adding available languages, specifying translatable content types, and adding a language switcher before configuring the module.

Add translation languages

To add the translation languages:

  1. Access your Drupal administrator dashboard.
  2. Navigate to Configuration > Regional and language > Languages.
  3. Click Add language.
  4. Choose the desired language from the dropdown and click Add language.
  5. The newly added language will appear in the language list.
Figure 1. Accessing language configuration.
Figure 2. Adding language.
Figure 3. Language dropdown list.
Figure 4. Updating translations.
Figure 5. Status messages.

Configure translatable content

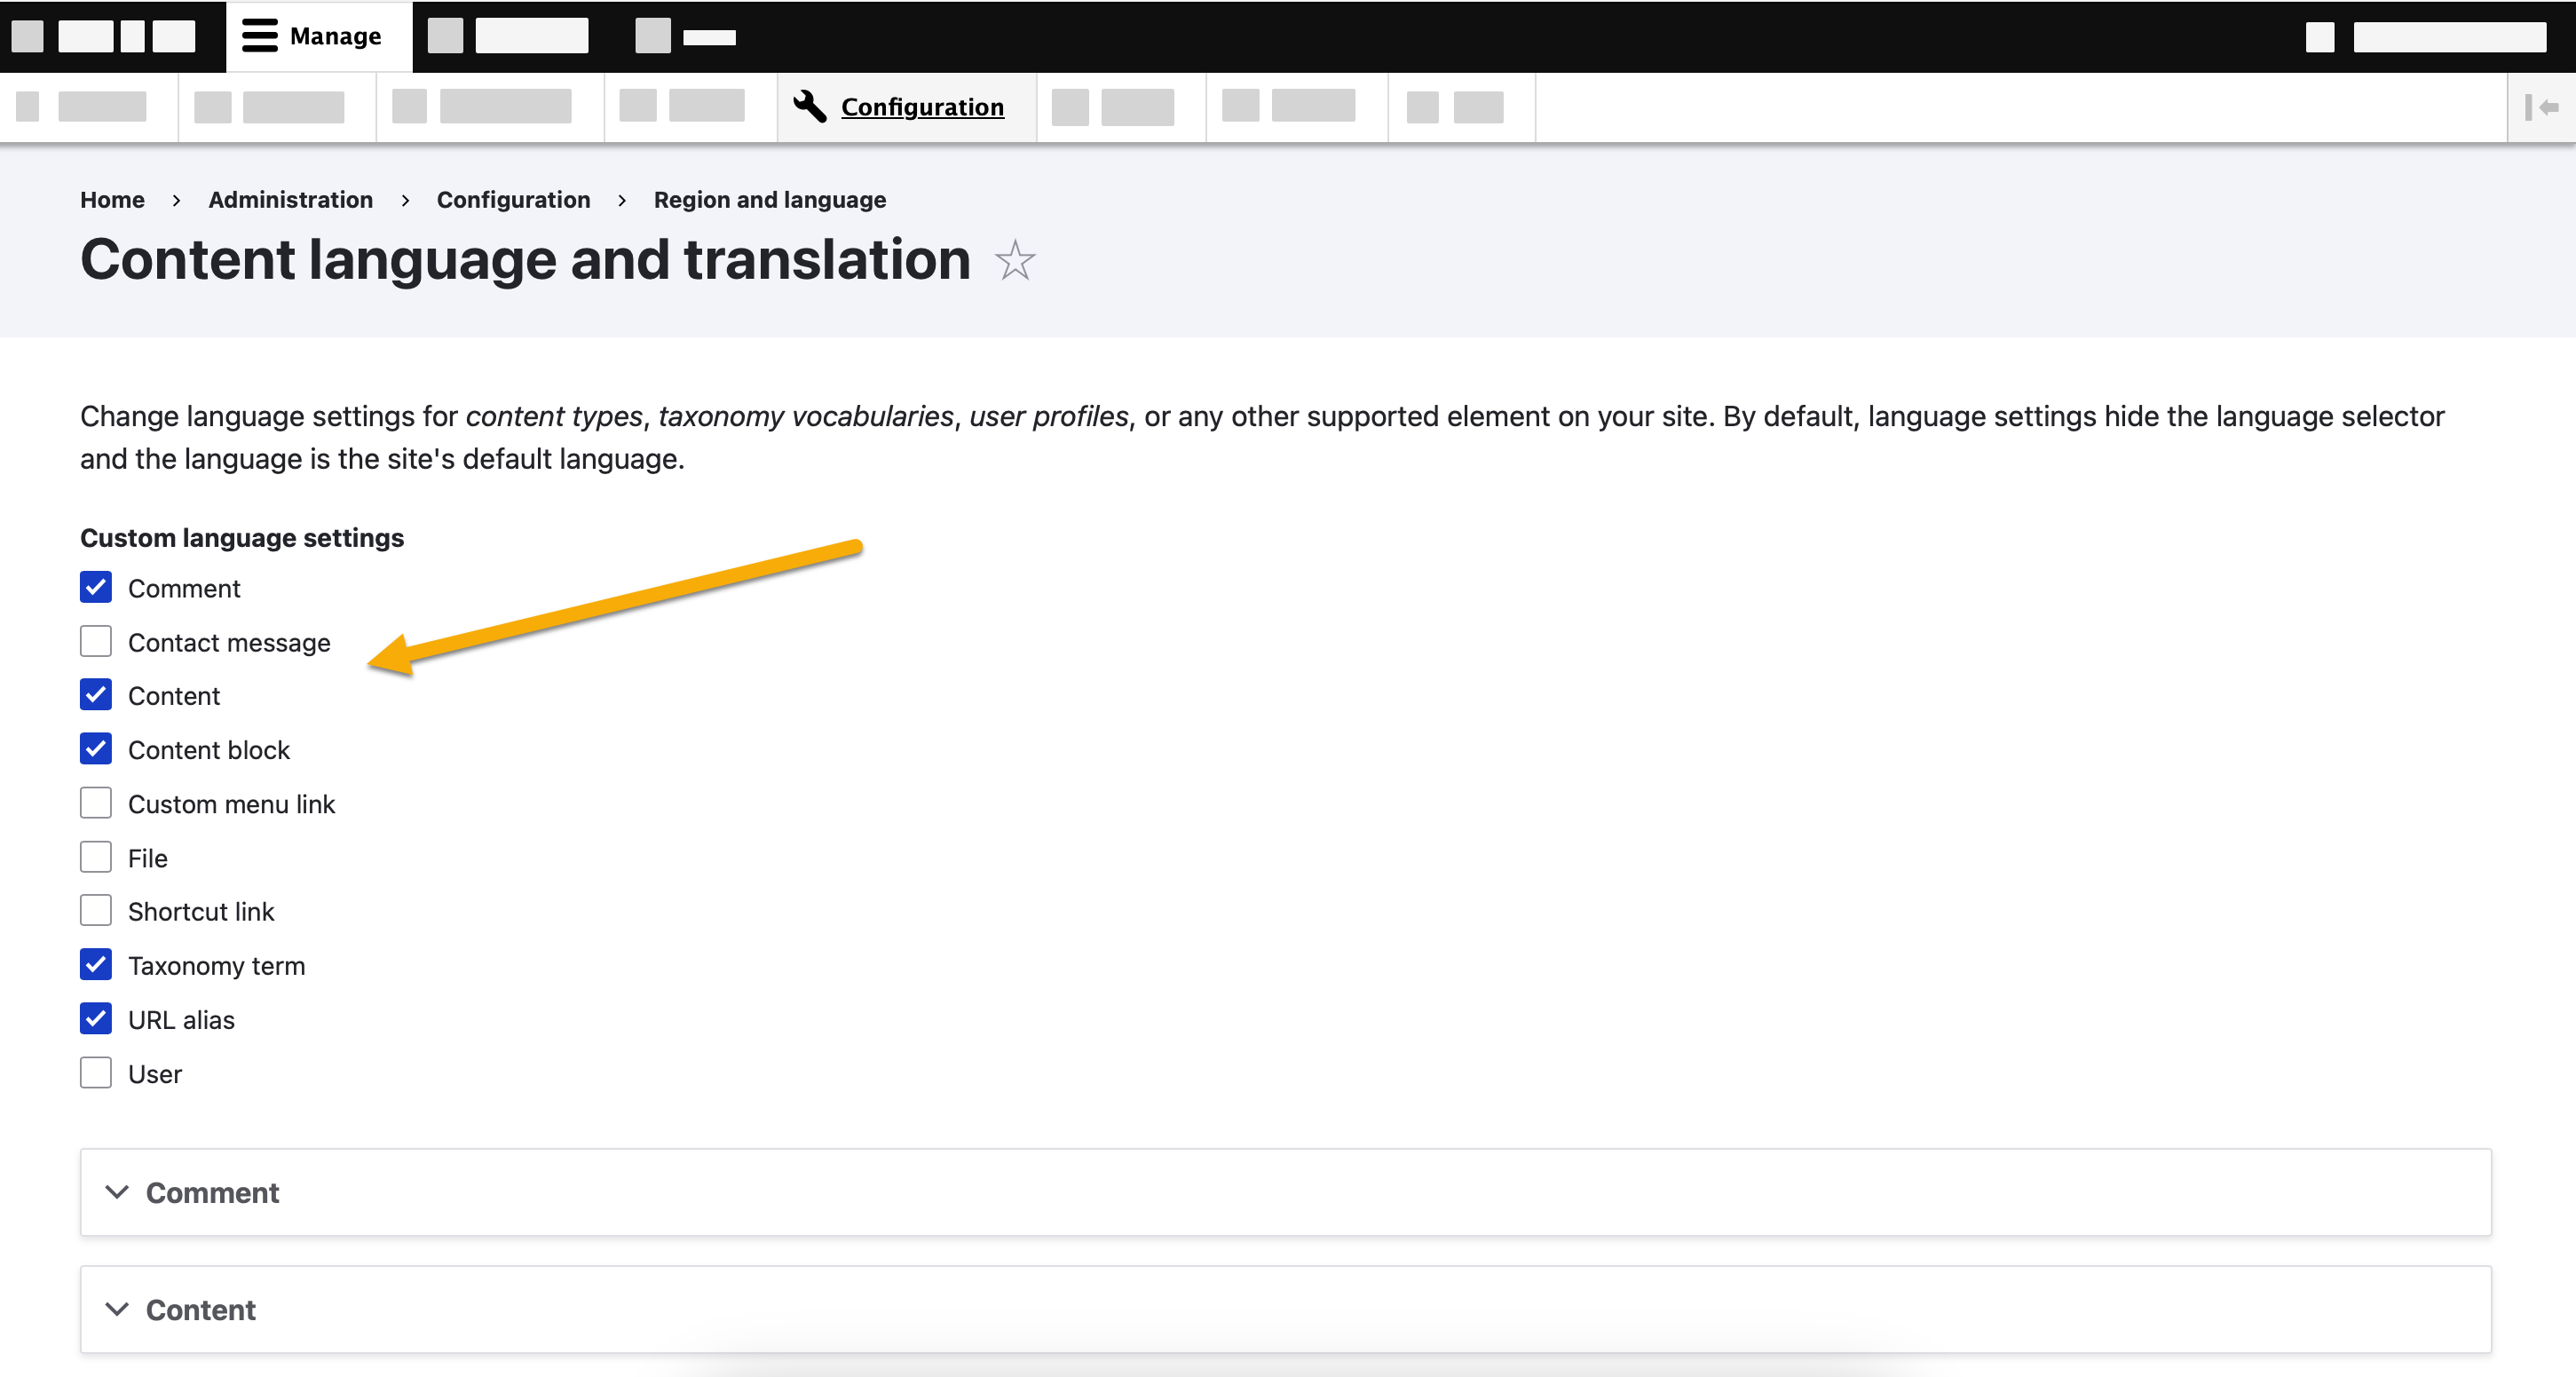
Determine which content types will be translated: pages, comments, custom blocks, taxonomy terms, and user accounts. For each selected content type, specify which subtypes or fields should be translated.

To configure translatable content:

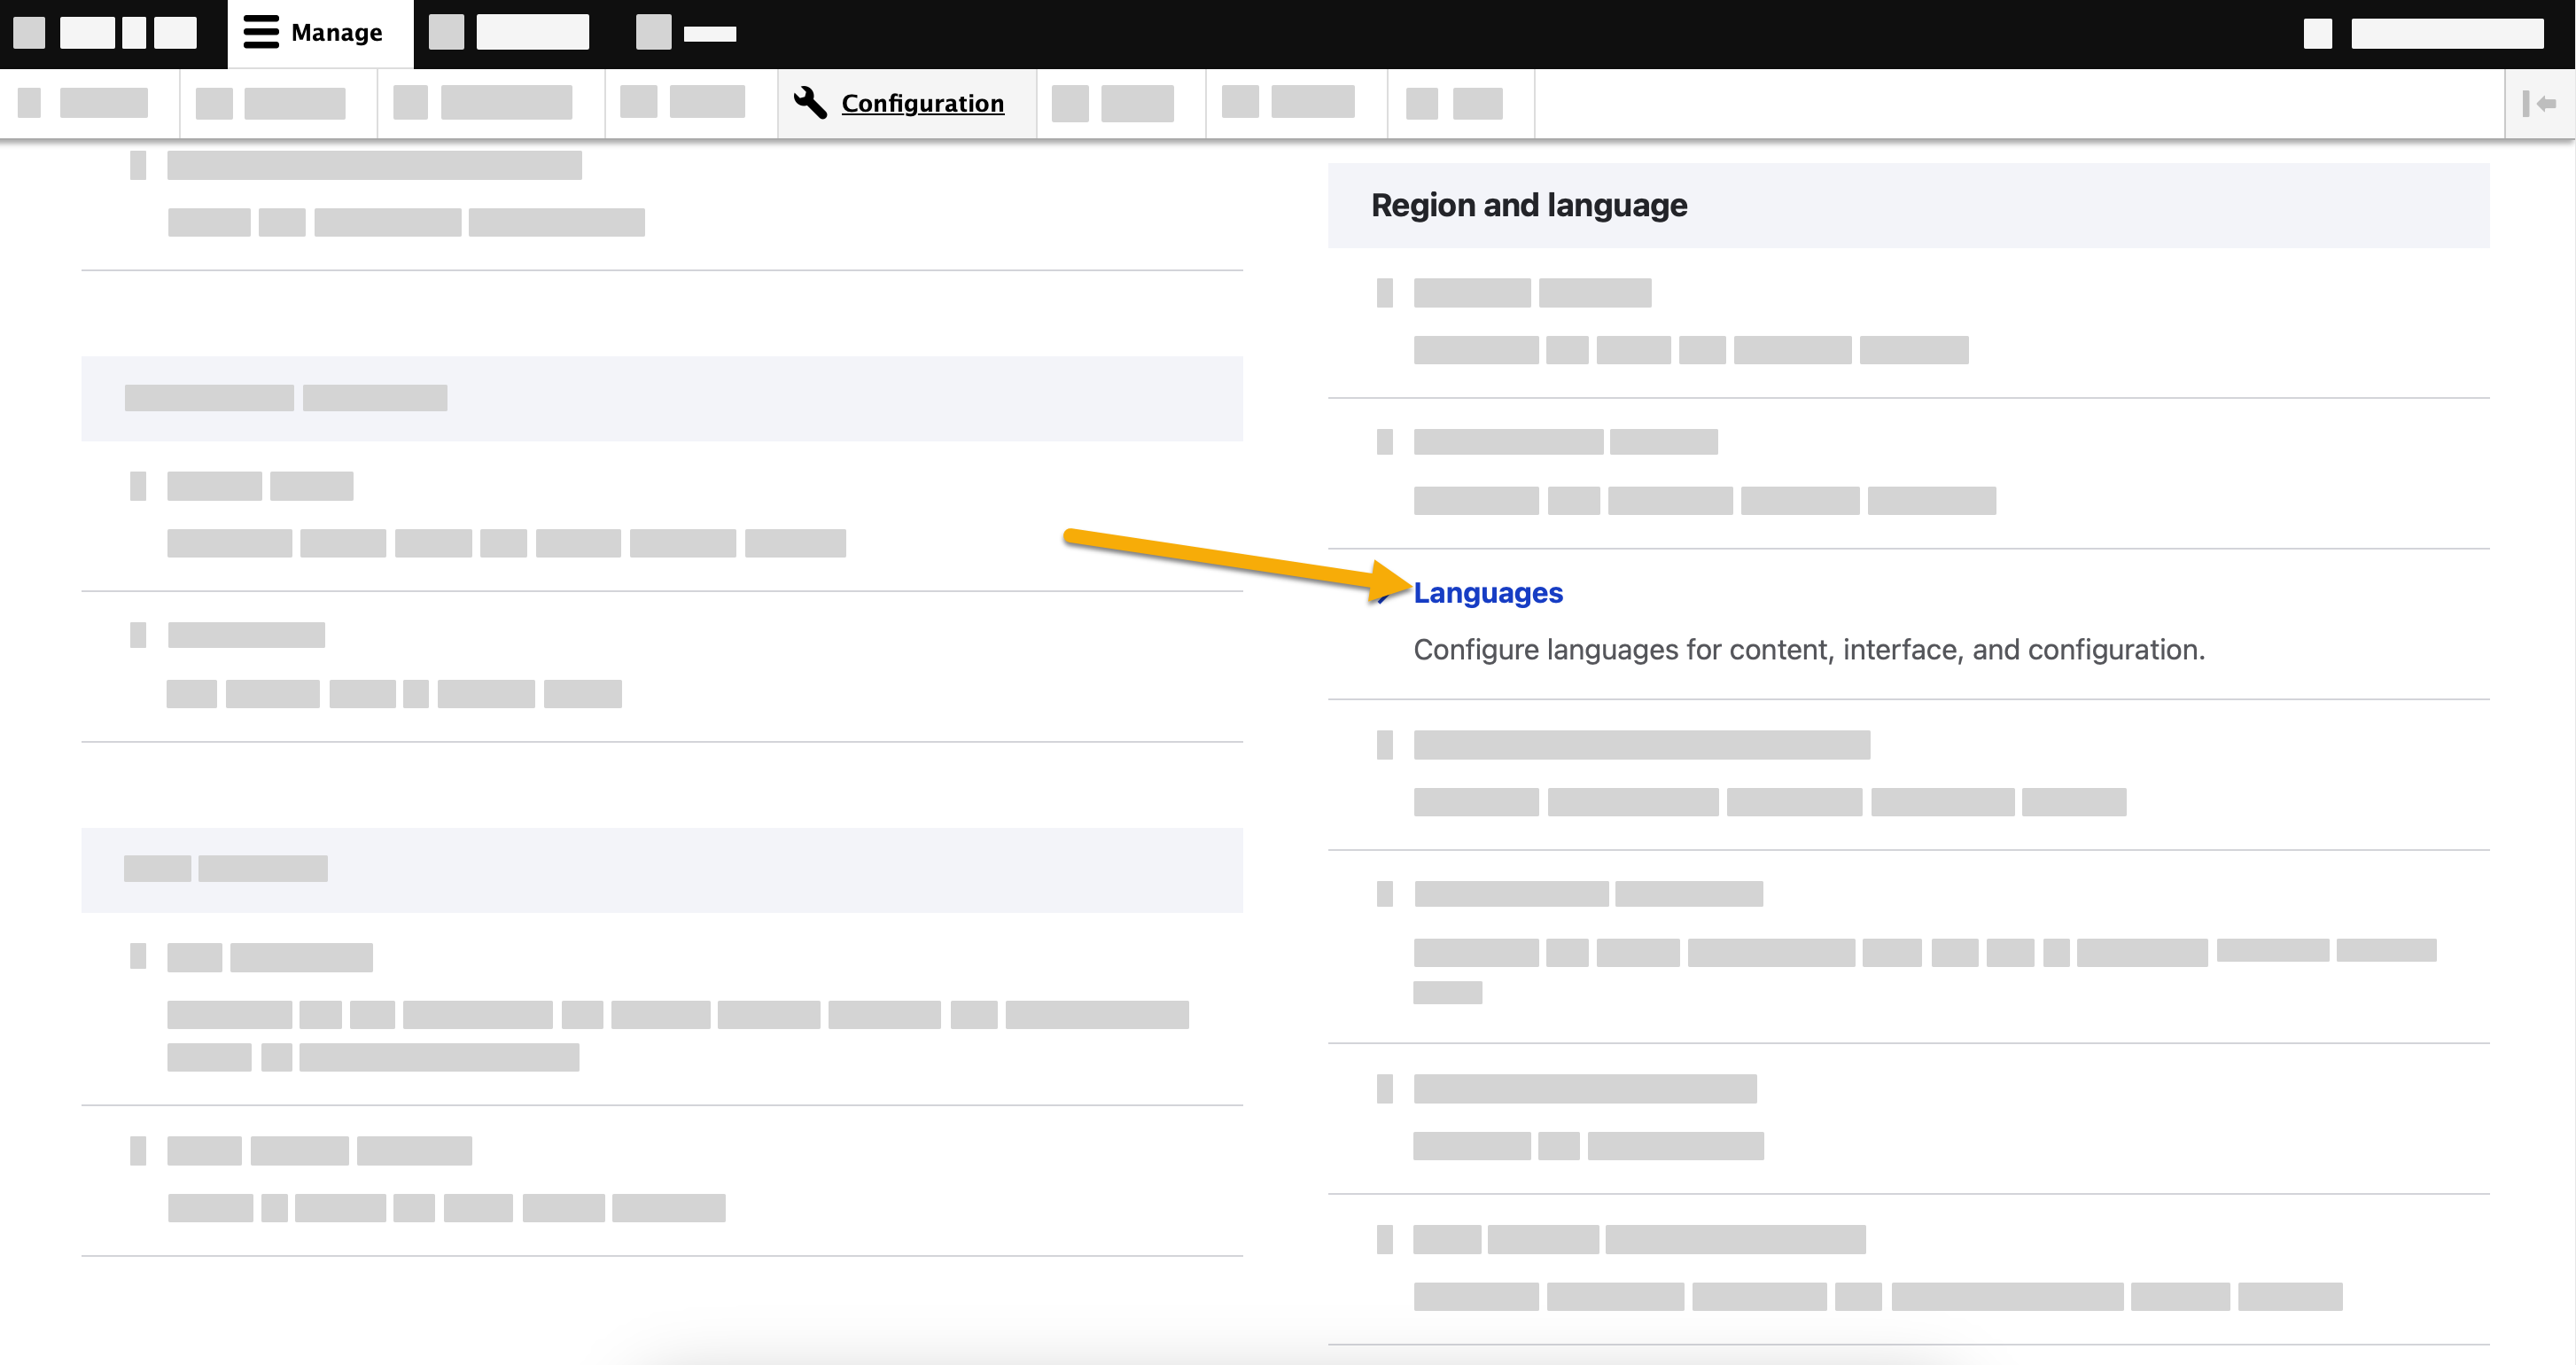
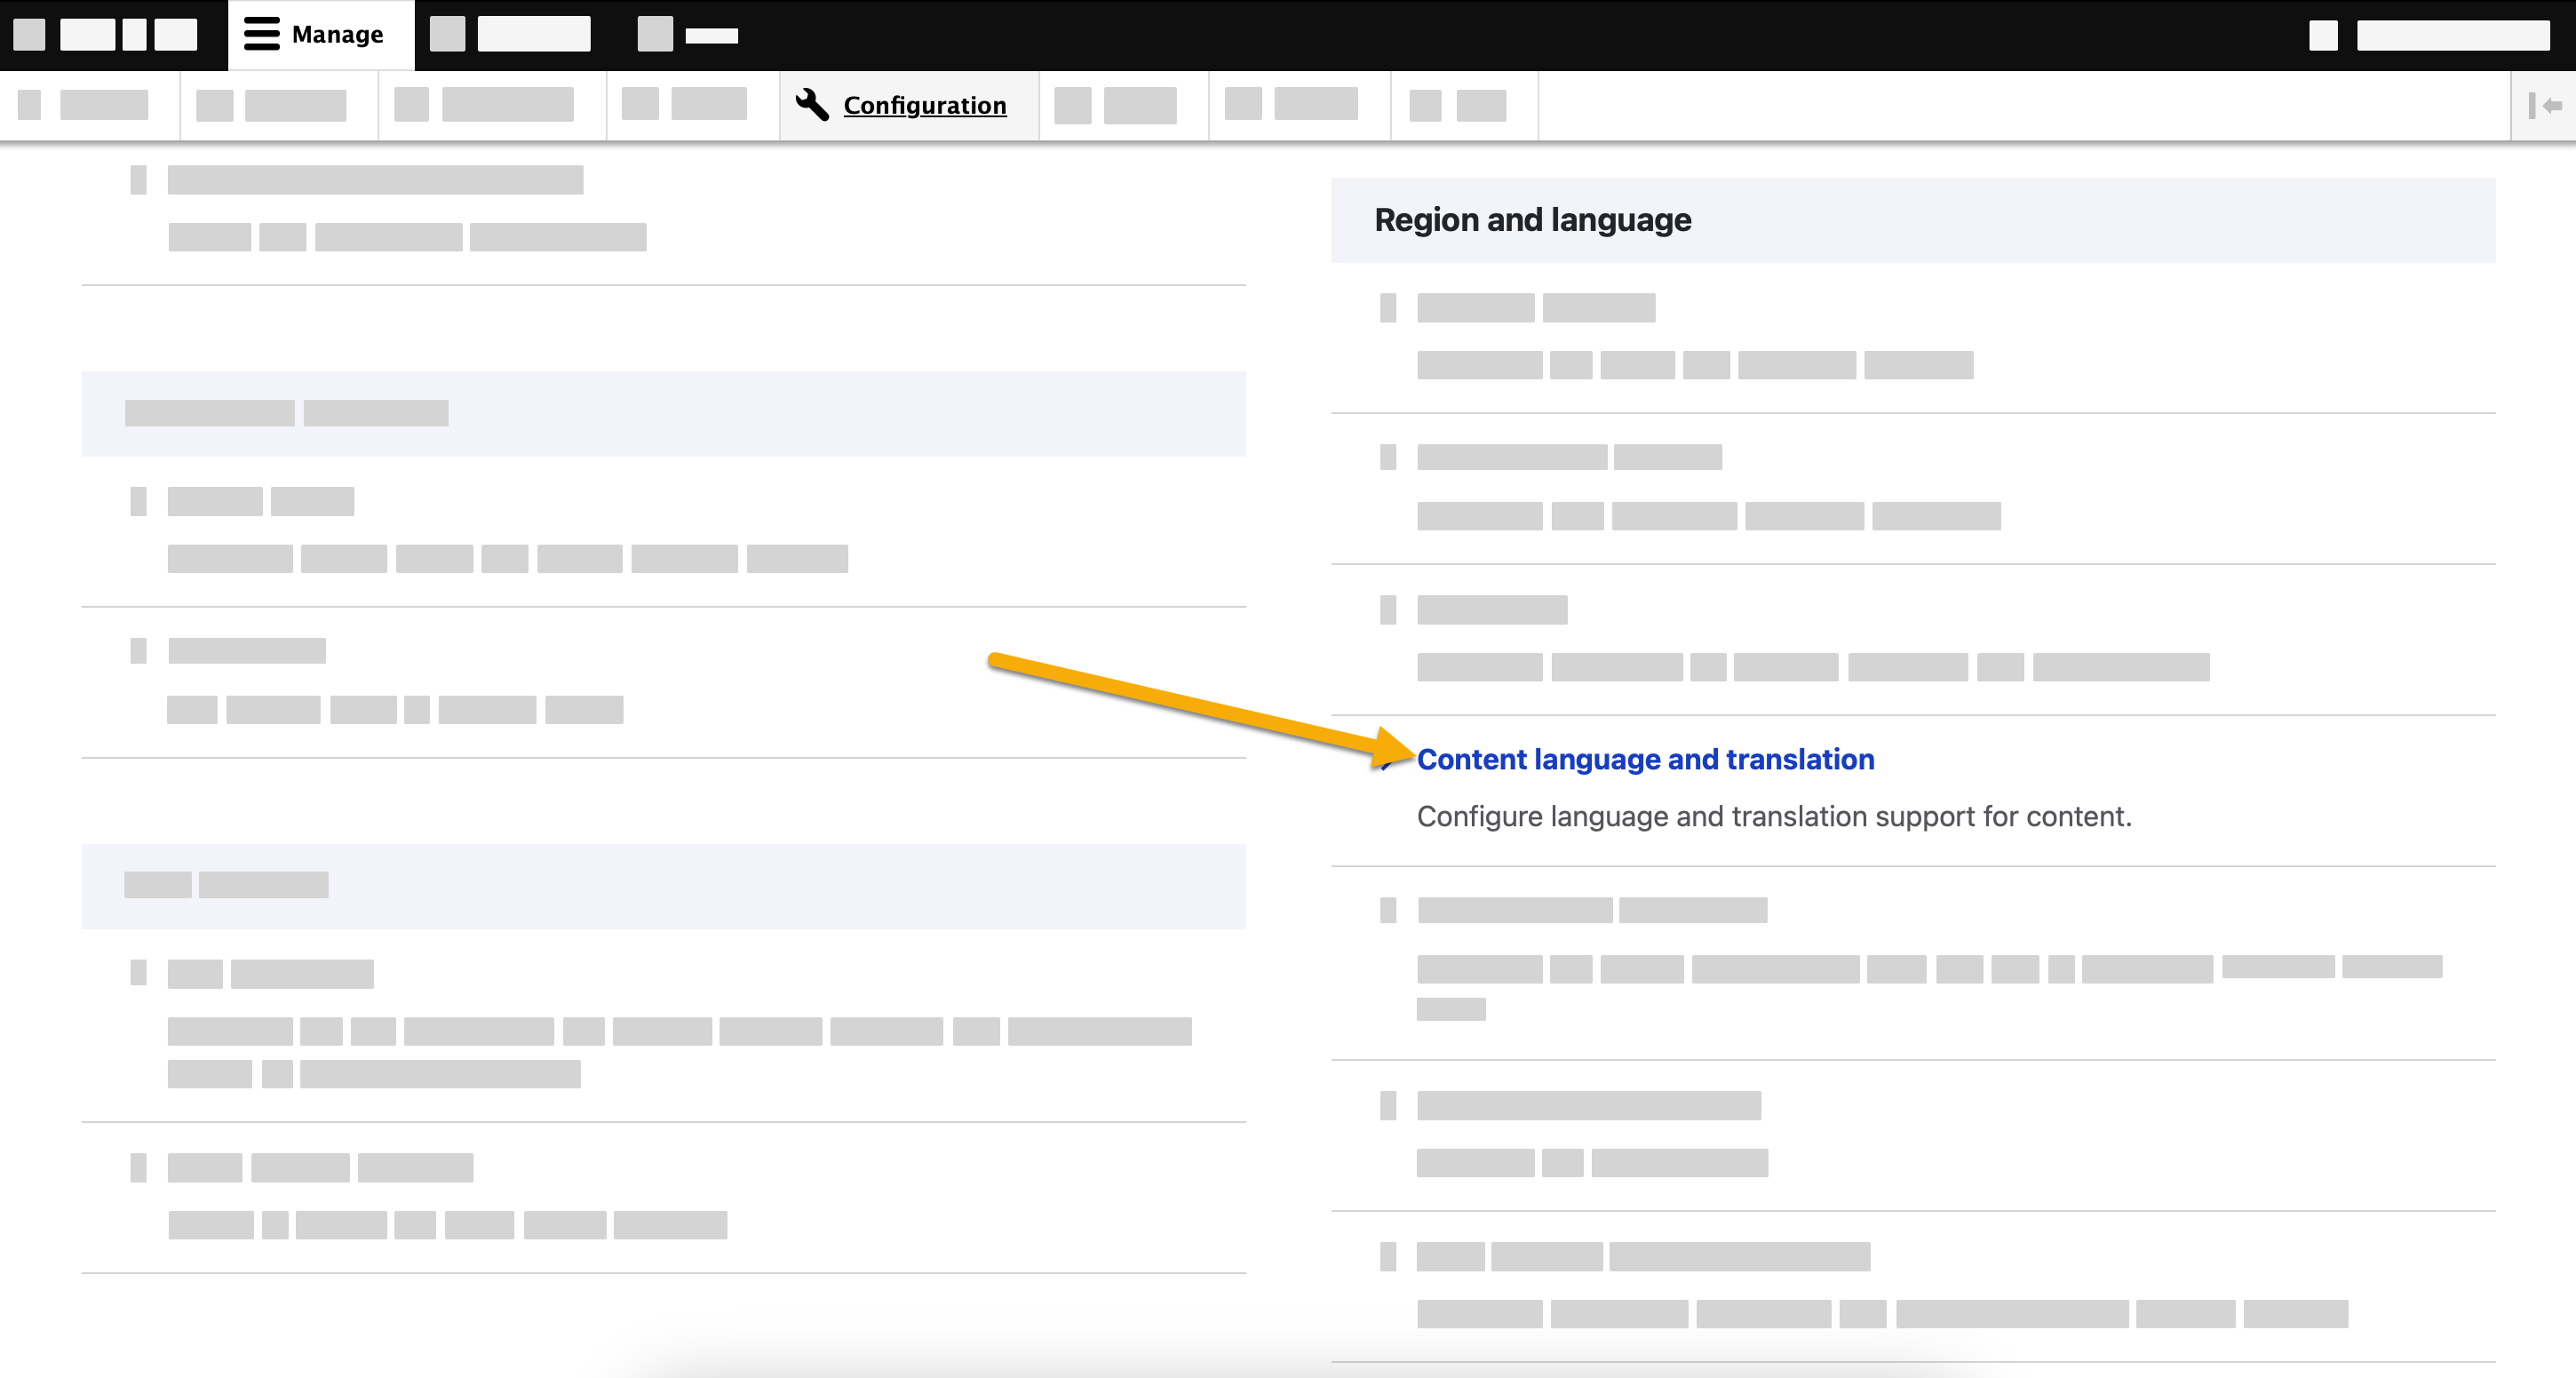
  1. Navigate to Configuration > Regional and language > Content language and translation.
  2. Select the desired content types for translation from the list.
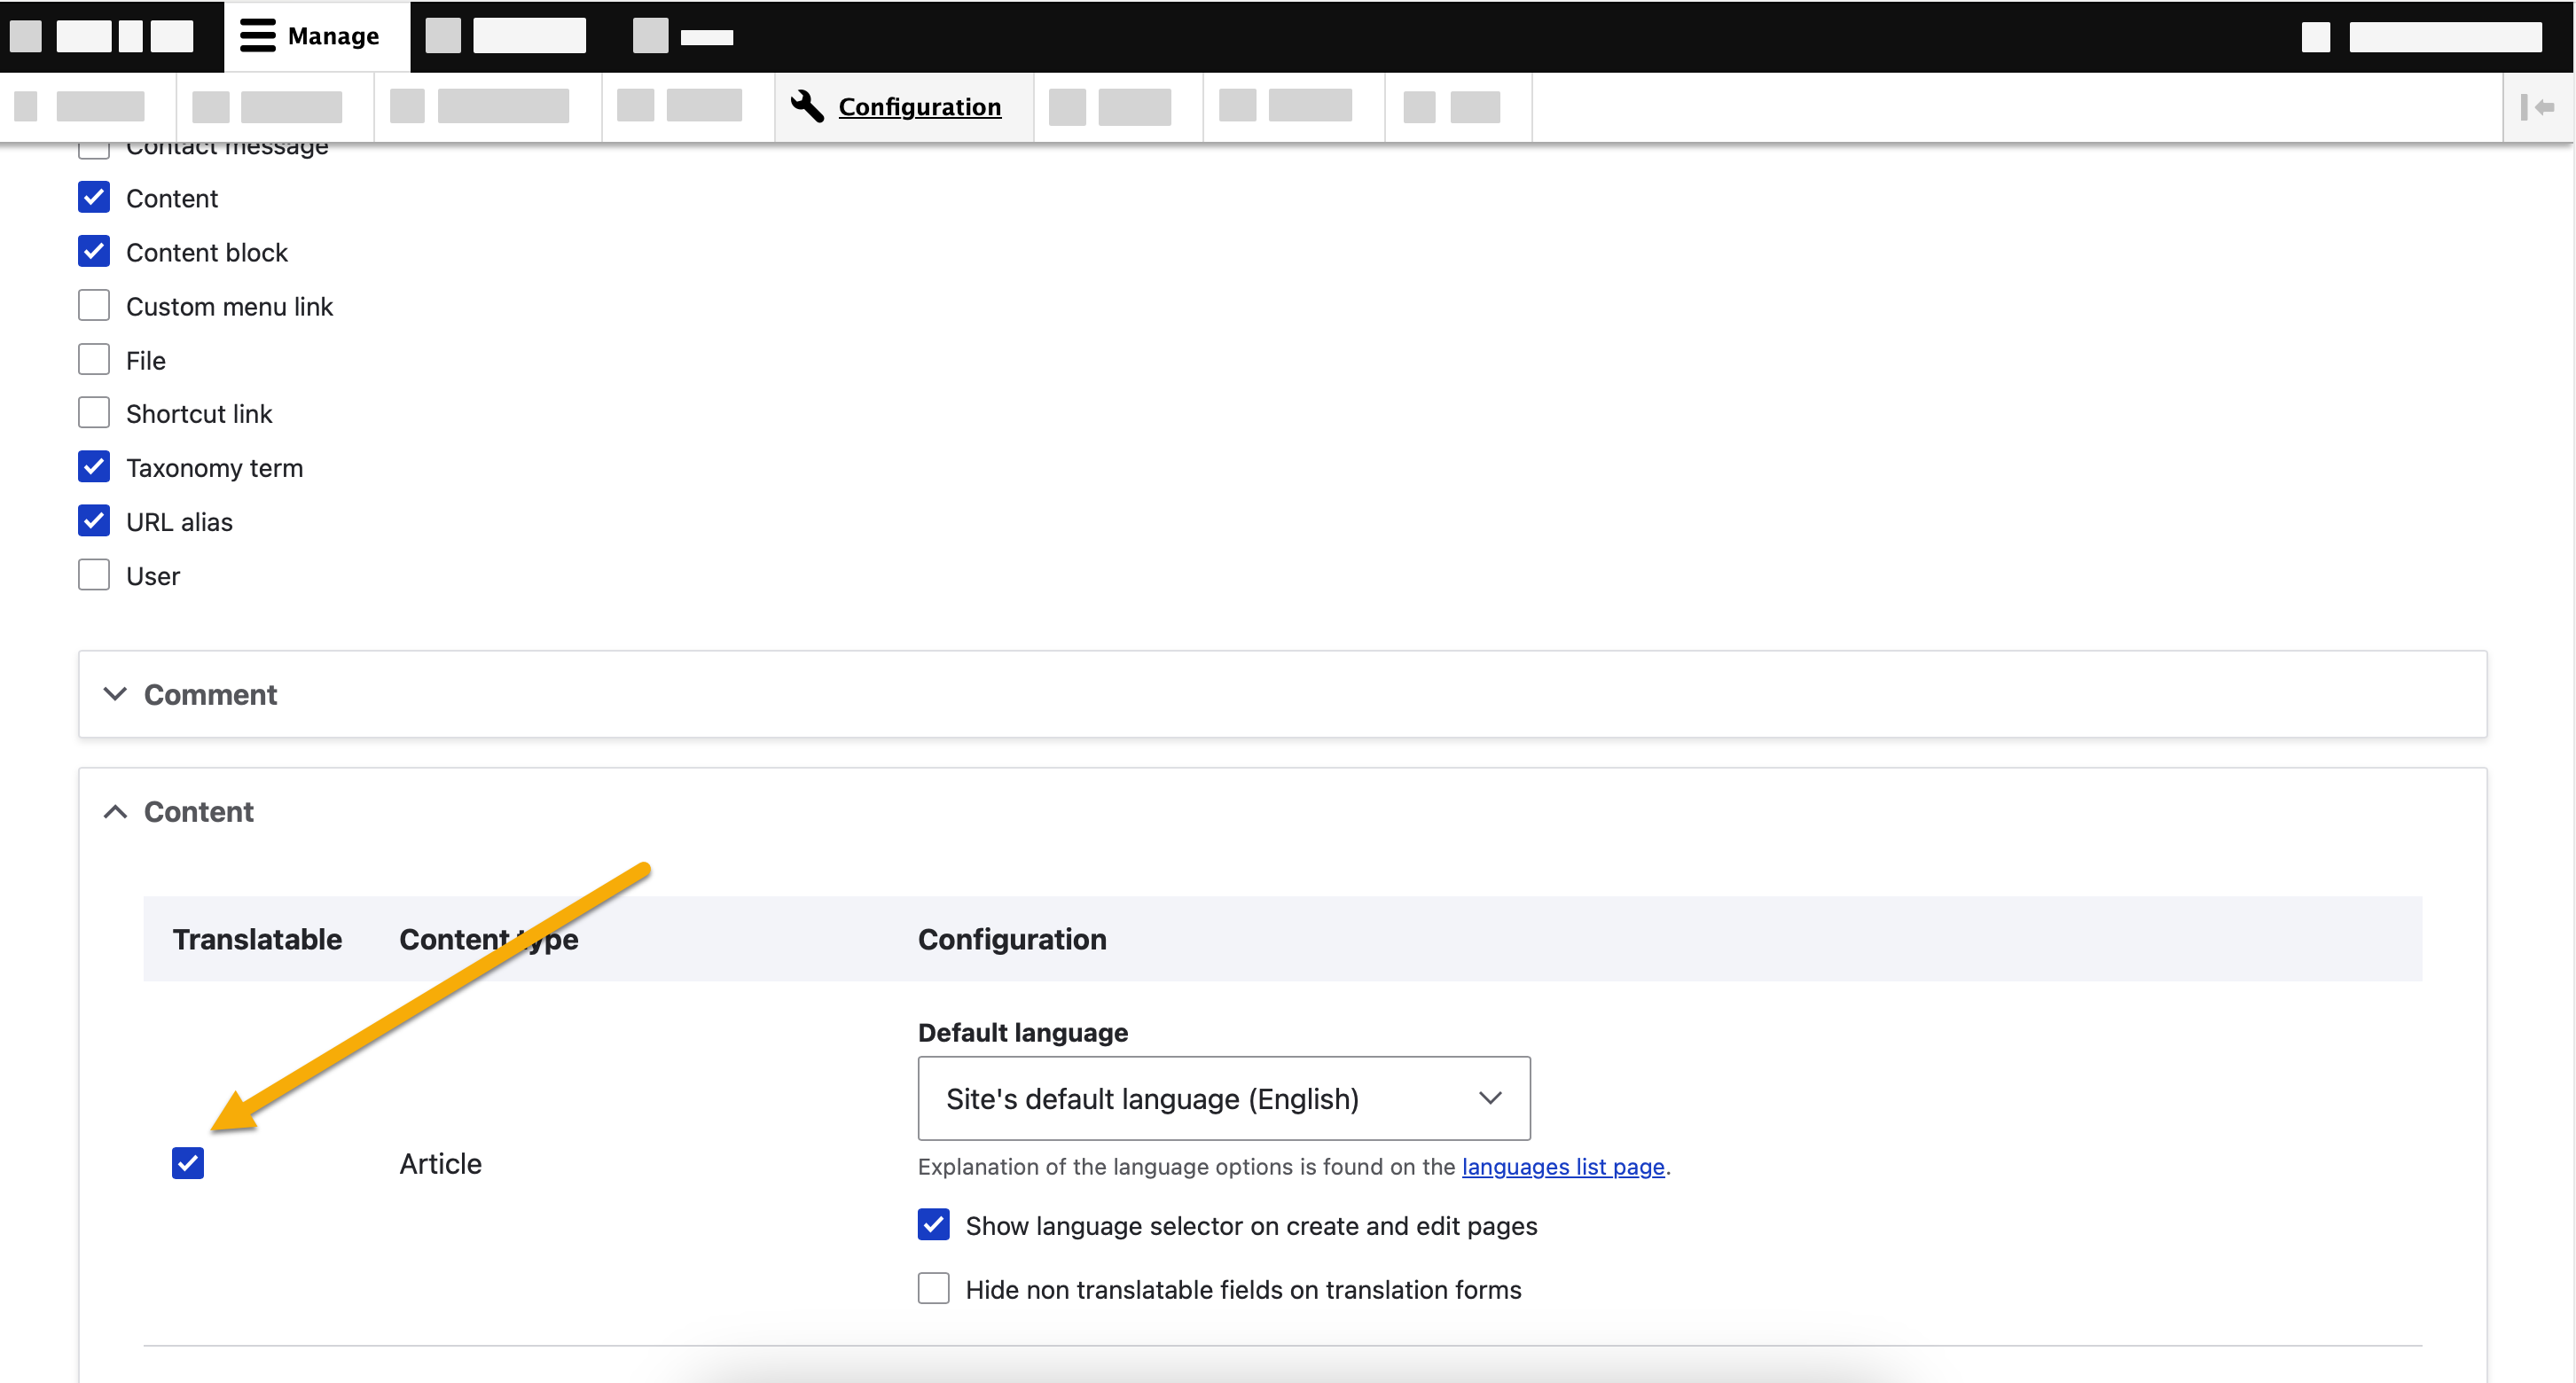
  3. Go through the table and enable Translatable at the start of each row.
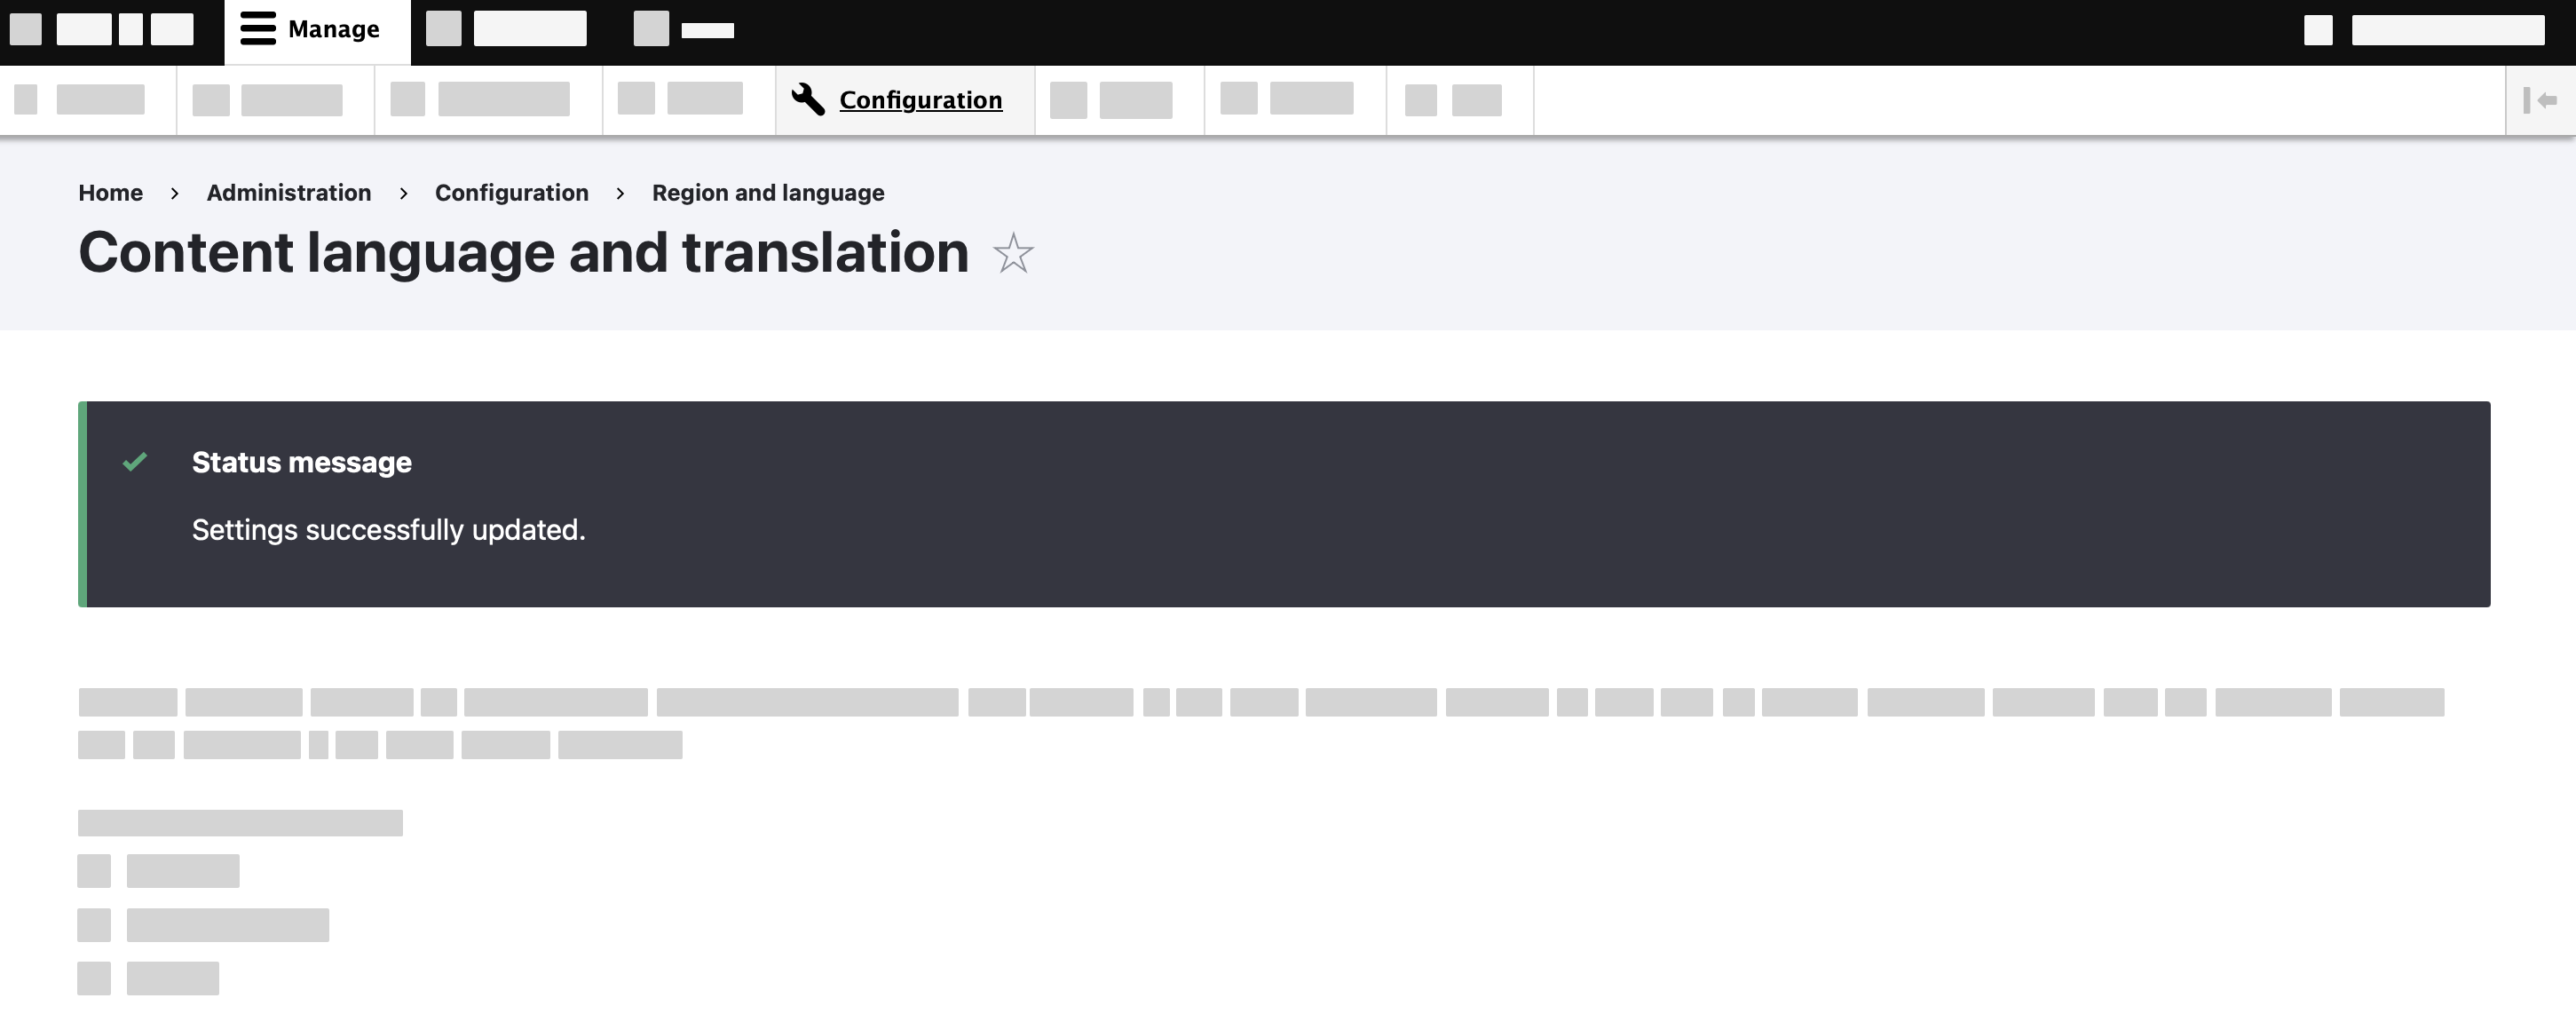
  4. Save your changes by clicking Save configuration.
Figure 6. Accessing content language and translation.
Figure 7. Selecting the desired content types.
Figure 8. Enabling translatable content.
Figure 9. Status message.

Add language switcher

To add language switcher to page:

  1. Navigate to Structure > Block layout.
  2. Choose a desired placement (header, footer, primary menu, etc.) and click Place block.
  3. Find the Language switcher block and click Place block.
  4. Customize the block by adjusting the title, visibility, and languages.
  5. Click Save block.
Figure 10. Block content configuration.
Figure 11. Choosing a desired placement.
Figure 12. Placing a block.
Figure 13. Customizing the block.
Figure 14. Status message.

The language switcher will appear on your webpage in the chosen location.

Figure 15. The language switcher.